ENEnglish
 LTLietuviškai
 DEDeutsch
 FRFrançais
 RUРусский
 ESEspañol
 PLPolski
 ITItaliano
 UKУкраїнська
 CSČeština
 PTPortuguês
 JA日本語
 LVLatviešu valoda
 ETEesti
 HUMagyar
 IDBahasa Indonesia
 TRTürkçe
 HIहिन्दी
 ELΕλληνικά
 ARالعربية
 THไทย
 VITiếng Việt
 RORomână
 MSBahasa Melayu
 BNবাংলা
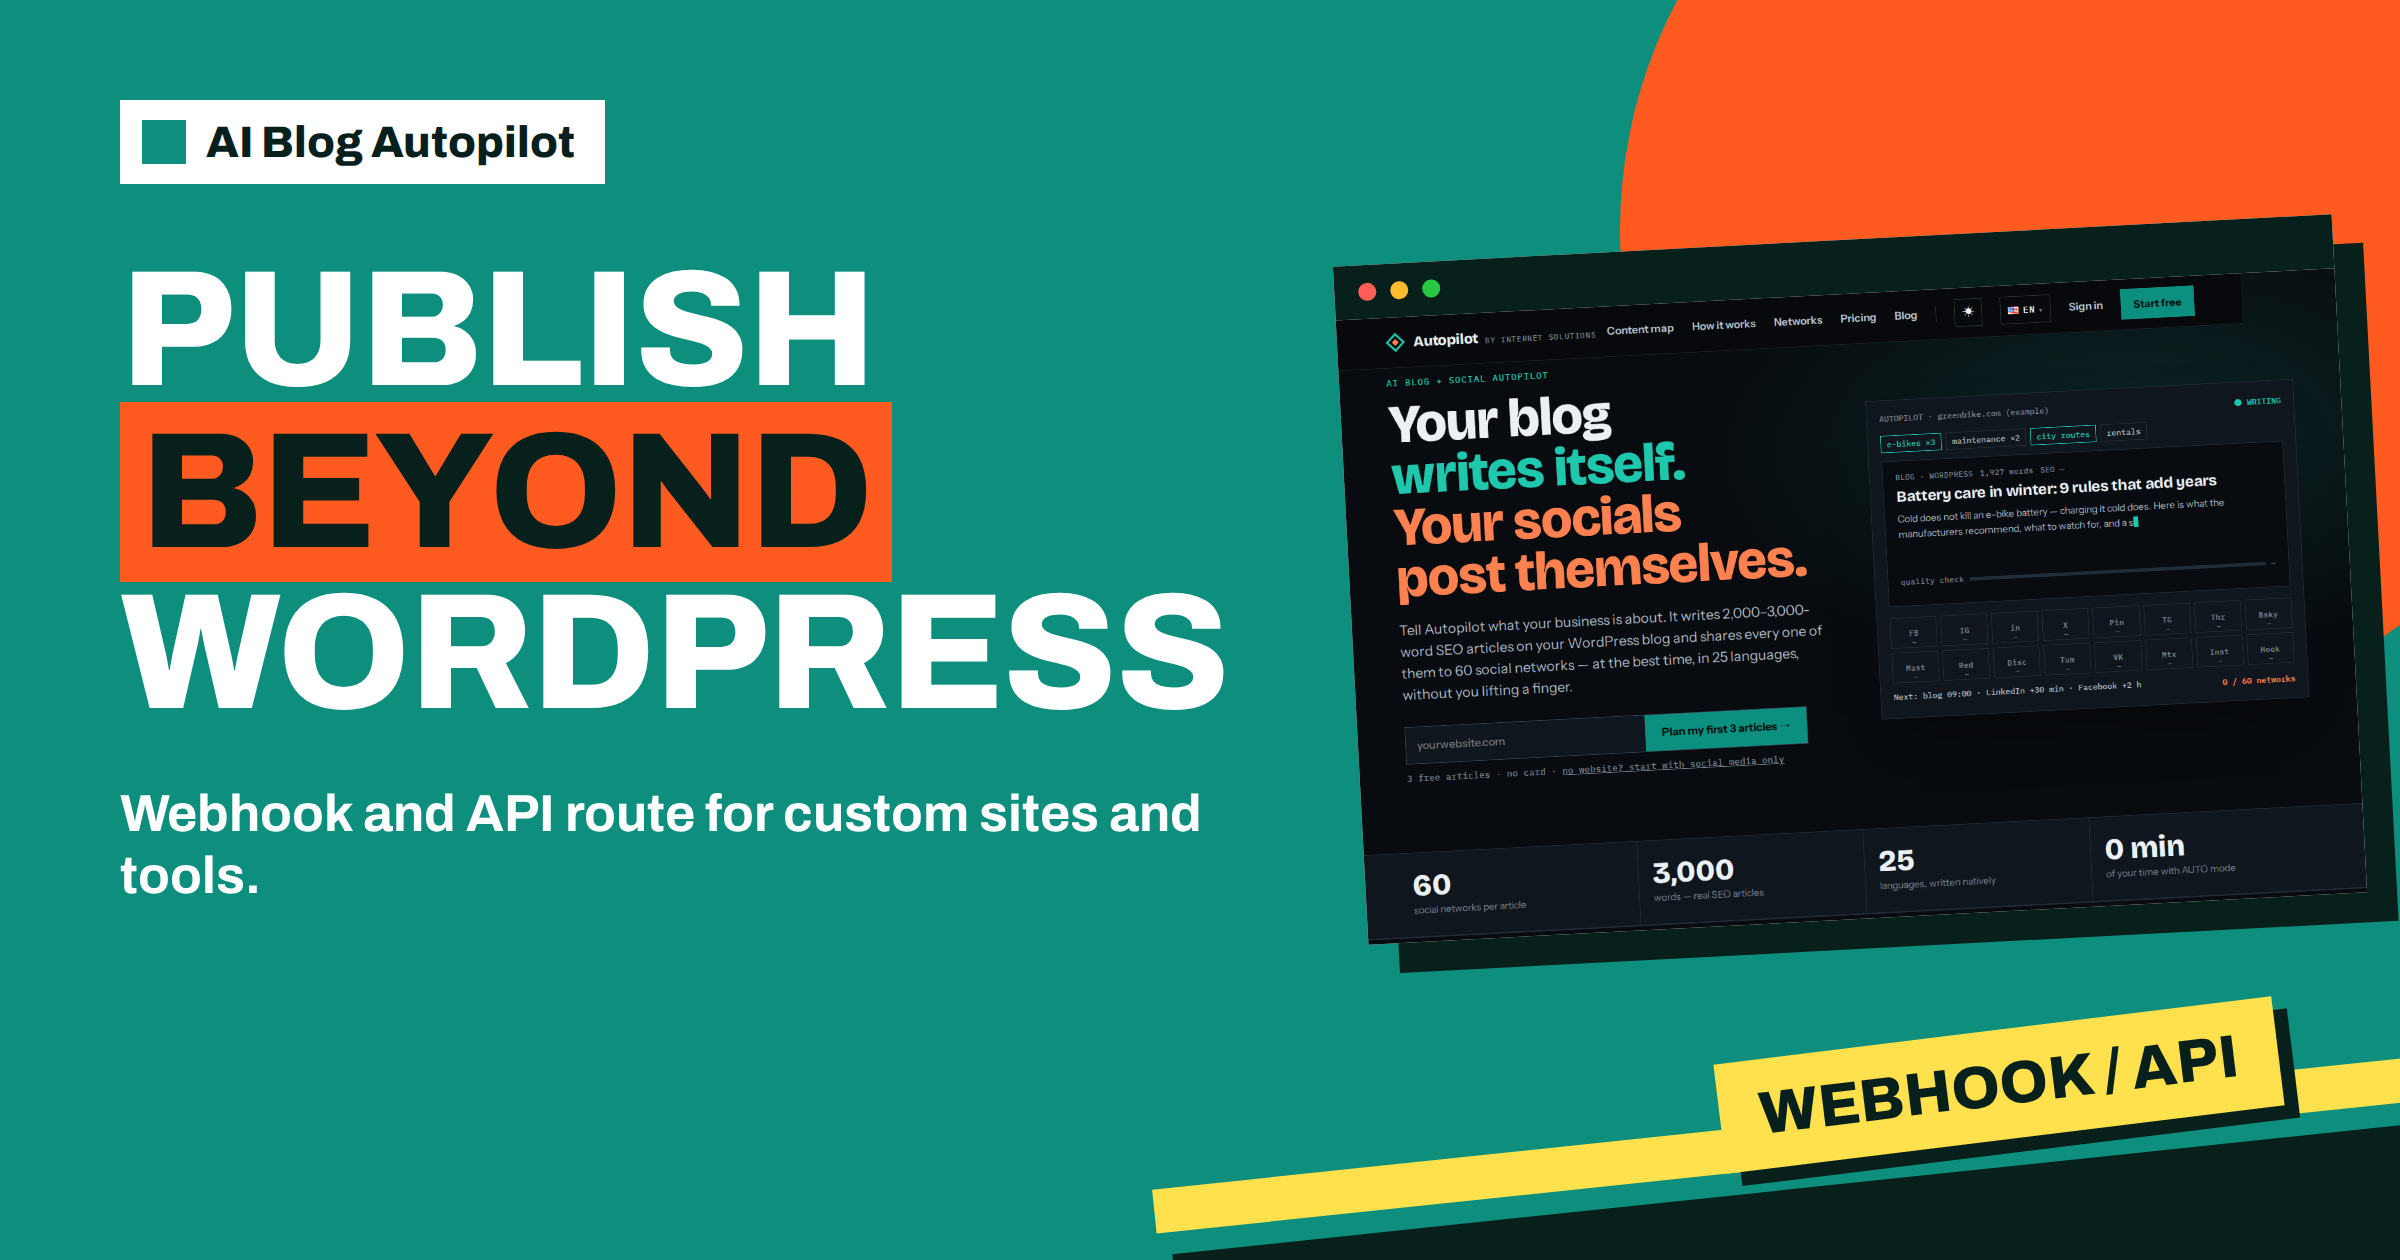
Short answer: AI Blog Autopilot lists three ways to publish to a website: a one-click WordPress connection, a webhook or API route, and more platforms coming soon. The webhook and API route suits custom sites, headless setups and internal tools that can receive an article. Prepare a receiving endpoint, secure it, test it with a first article and check the details in your account.
Most small businesses run WordPress, and for them the one-click connection is the obvious choice. But not every site is a WordPress site. Some teams use a custom-built website, a static site generator, a headless content system or an internal tool that stores articles in a database. For them the question is simple: can the articles still arrive automatically?
This guide explains who the webhook and API route is for, how to prepare for it, how to run a safe first test and how to keep the result under control. The product facts come from the home page and the networks page. Those pages do not describe the exact data format, so treat anything technical here as a checklist of questions to ask in your account and of your developer, not as documentation.
What the home page says about publishing routes
Under the heading for people with a website, the home page lists three routes: WordPress with one click, Webhook or API, and more platforms soon. The same page says that with a website you get 2,000 to 3,000-word SEO articles on your own domain, with titles, descriptions, tags and FAQ done for you, and that every article is shared to your social networks automatically.
The networks page also lists Webhook in a small group called read-later and automation, next to Instapaper and Readwise Reader. So the webhook appears in two roles: as a way to publish an article to your own site, and as a general target that can pass an article on to other systems. Which of these fits your case depends on what you build on the receiving side.
It helps to be clear about what a webhook is. It is an address on your side that accepts a message when something happens. In this case the message is a finished article. Your system receives it and decides what to do: store it, publish it, queue it for review or forward it elsewhere. Autopilot does the writing and the sending; your system does the receiving.
Who the webhook and API route suits
The route fits several kinds of site. A custom-built website, written by a developer for a specific business, often has no ready-made blog connection. A static site built from files can receive an article and turn it into a page during the next build. A headless setup, where content lives in one system and is displayed by another, can accept articles through its own interface. An internal tool, such as a company knowledge base or a customer portal, can use the same method.
It also suits teams that want a review step of their own. Instead of letting an article go live at once, the receiving system can save it as a draft, notify an editor and wait. This is a design choice on your side, and it works alongside the approval setting in Autopilot, which the home page says you can switch on at any time.
It is less suitable if you have nobody who can build or maintain the receiving side. A webhook needs a small piece of code, and code needs an owner. If you have no developer and no budget for one, a WordPress site, a social-only start or waiting for more platforms may be the better path. The article on WordPress versus other platforms for a content blog compares the options in plain language.
What to prepare before you connect
Start with the receiving address. Your developer needs a secure web address that accepts incoming messages, uses HTTPS and answers quickly. It should be separate from public pages, so that a visitor cannot trigger it by accident. Decide what it will do with an article: publish immediately, save as a draft or place it in a queue.
Next, decide how the system will recognise a genuine message. Most receiving systems check a secret value or a signature, so that only the sender you expect can create content. Ask in your account what authentication the route supports, and set the receiving side to match. Keep any secret out of documents, chat messages and shared screenshots.
Then think about the content itself. An article arrives with a title, body, description, tags and FAQ, as the home page describes. Your site needs fields or templates that can hold each of these. Work out how headings, links, the FAQ and any structured data will be displayed, and what should happen to the featured image if your design uses one. Write this down as a short specification before building anything.
Finally, choose a test environment. Build and test the route on a staging copy of your site, not on the live site. A mistake during testing should create a draft on a private page, not a broken page that visitors and search engines can see.
How to run a safe first test
Use the free articles for a first trial. The home page says you get three free articles with no card, which is enough to test the route end to end. Plan the first article with a topic that is not urgent, so that a failed attempt costs nothing important.
Connect the route in your account, then request the article and watch what arrives. Check each element in turn: the title, the headings, the body text, the description, the tags and the FAQ. Look at how it appears on a phone as well as a desktop screen. If something is missing or displayed wrongly, fix the receiving side, not the article.
Check what happens on failure. A good receiving system answers clearly when it cannot accept a message, and a good sender reports the failure. The home page says the content map tells you exactly why something failed. Look there after a test that goes wrong, and read the reason before changing anything. The article on connecting WordPress in one click shows the same idea on the simpler route, including what a healthy connection looks like.
Keeping control of what goes live
AUTO is the default mode, and the home page calls it the better choice, since there is no queue to approve and no daily log-ins. For a custom route, many teams still prefer a short period of review first. You can switch on approval at the start and read every article before it reaches your site, then move to AUTO when you trust the result.
The receiving system can add its own safety. It can refuse an article with no title, hold a very short one, reject a duplicate address or limit how many articles can appear in a day. These rules protect your site from a wrongly configured sender, a repeated message or a test that was left running.
Keep a record. Note which articles arrived, when and in what state. If your system stores a log, check it weekly in the first month. A quiet log with no errors is the sign that the route is stable. The article on how posts look in reader mode and read-later apps is useful if you plan to use the read-later targets as well.
Webhook as a target for other systems
Because the networks page lists Webhook as a target, you can imagine uses beyond your own website. A webhook can pass an article to a team tool, a newsletter system, an archive or a customer portal. Each of these is a separate piece of work on your side, and each needs the same care: a secure address, a clear idea of what to do with the message and a test.
Keep the list short at first. One receiving system that works well is worth more than four that half work. Add the next one only when the first has run without trouble for a few weeks.
Also think about duplicate content. If the same article appears on your site and in an archive that search engines can read, one version should be the main one. Use the canonical address your site chooses, and keep archives private or clearly marked. The article on content syndication without SEO harm explains the principle.
Consider a short story. A regional furniture maker has a custom website built eight years ago, with its own small content system. The developer who looks after it is available a few hours a month. They agree a plan: a receiving page that accepts an article and saves it as a draft, an email to the owner when one arrives and a manual button to publish. The first test goes into a staging copy and shows that the FAQ needs its own template. After a fix and a second test, three free articles arrive as drafts, the owner reads them and publishes two. After a month with no errors, the owner switches from approval to AUTO and keeps the draft step on the receiving side, because it costs one click and removes any worry.
The point is that the route does not need to be complicated. A small receiving page, a clear rule about drafts and a test environment are enough to start, and the rules can loosen as trust grows.
When to choose another route
Be honest about your resources. If the receiving side would take weeks of development, compare that cost with the alternatives. A simple WordPress blog added next to the custom site, on a subdomain or a separate address, can be live in days and connects in one click, as the home page says. Some businesses keep their main site as it is and put the blog on WordPress.
If you do not need a website blog at all, social-only mode is available. The home page says there is no website needed, and that you can add a blog later, with your plan moving with you. That can be a good way to start while the technical side is prepared.
Watch the list of platforms too. The home page says more platforms are coming soon, so a route that needs development today may become a one-click option later. Check the home page and your account from time to time before building something large.
How AI Blog Autopilot helps
The product gives you more than one way to publish: one-click WordPress, a webhook or API route and more platforms on the way, all with the same quality check and the same social sharing. Try it with the three free articles on AI Blog Autopilot, no card needed, and compare the plans on the pricing page.
Related reading
- WordPress vs Other Platforms for a Content Blog
- Connect WordPress in One Click
- Content Syndication: Republishing Posts Without SEO Harm
The bottom line
If you are not on WordPress, use the webhook or API route: prepare a secure receiving address, decide what happens to each article, test on a staging copy with a free article, keep approval on at first and add routes one at a time.
FAQ
Does AI Blog Autopilot work without WordPress?
The home page lists a webhook or API route besides one-click WordPress, and says more platforms are coming soon.
Do I need a developer for the webhook route?
Usually someone has to build the receiving side. Check the route details in your account before you start.
Can I test the route for free?
The first three articles are free with no card, which is enough for an end-to-end test on a staging site.
Can I review articles before they reach my site?
Yes. Approval can be switched on at any time, and your own system can also save articles as drafts.
Where do I see why a delivery failed?
The content map shows what failed and why, so check it before changing the setup.