ENEnglish
 LTLietuviškai
 DEDeutsch
 FRFrançais
 RUРусский
 ESEspañol
 PLPolski
 ITItaliano
 UKУкраїнська
 CSČeština
 PTPortuguês
 JA日本語
 LVLatviešu valoda
 ETEesti
 HUMagyar
 IDBahasa Indonesia
 TRTürkçe
 HIहिन्दी
 ELΕλληνικά
 ARالعربية
 THไทย
 VITiếng Việt
 RORomână
 MSBahasa Melayu
 BNবাংলা
Short answer: The AI Blog Autopilot networks page says you connect each network once in your Autopilot account and need no other tools. Choose a few networks where your customers are, prepare real profiles with admin access, connect them one at a time, check the first posts and watch the content map, which tells you if a network needs reconnecting.
Setting up social channels is where many automation projects stall. Each network has its own login, permissions and quirks, and doing it for ten networks across several tools is a chore nobody finishes. The promise on the AI Blog Autopilot networks page is simpler: connect each network once, in one place, and let the product handle the rest.
This guide explains how to prepare, connect and check your channels, step by step. The product facts come from the home page and networks page. They do not describe the screens in detail, so use this guide as a checklist for what to prepare and verify, and follow the prompts in your account for the exact steps.
What the networks page promises
The networks page introduces the list with a clear statement: every new article on your blog becomes a native post on each network you connect, with its own text, length and timing for every audience. It adds that you connect each network once in your Autopilot account and no other tools are needed.
The networks are grouped into five types: social networks, messaging channels, team chats, blogs and publishing, and read-later and automation. The page counts 58 networks in total, and the home page speaks of 60 social networks per article, so use the page and your account as the final source for what is available today. The page also says the list keeps growing, and that new networks appear automatically when they become available.
The pricing page sets how many networks each plan can use: 5 social networks on Social and Starter, and all 60 on Growth, Pro and Agency. So your first decision is how many you need, and your plan sets the limit.
Choose your first networks
Do not try to connect everything. Pick the two or three networks where your customers already spend time, and where you can keep your profile in good shape. A local shop might choose Facebook and a messenger channel, a business-to-business company LinkedIn and X, a visual brand Pinterest and a community project Telegram or Discord.
Ask your customers. A short question in an email or at the counter, such as where do you usually look for news about us, gives a better answer than guessing. Look at your site statistics for where visitors arrive from, and see where competitors are active.
Also think about capacity. Every network you add is one more place that needs a good profile, the occasional reply and a glance at the results. Five channels well kept beat fifteen neglected ones. The article on choosing social networks for a blog offers a short method.
Prepare each profile before you connect
Preparation saves trouble. For each network, check three things. First, that you control the account: you know the login, you are an admin of the page or channel and you can grant permissions. Second, that the profile is complete: name, picture, description, link to your site and contact details. Third, that it matches your other profiles, with the same name and a consistent look.
Some networks need a business page or a channel rather than a personal profile. Check what each network requires before you start, so that you do not connect your personal account by mistake. Ask yourself who should be named as the poster, and whether the person who connects it will always be available.
Write down where each account lives and who owns it. If the person who connected a network leaves, you will want to be able to reconnect it quickly. The article on consistent social profiles gives a checklist for names, images and descriptions.
Connect one network at a time
Connect your first network and test it before adding the next. In your account, follow the prompts for that network, grant the permissions requested and read what they allow. If you do not understand a permission, check it, and do not grant more than necessary.
After connecting, check that the account shows as healthy. Then wait for the next article or post and look at the result on the network itself. Check the text, the link, the image and the time. If something looks wrong, adjust the brief before connecting more channels, since the same problem would repeat everywhere.
Add networks gradually, perhaps one or two a week. This makes problems easy to trace. If a new network causes an issue, you know the cause. The home page says approval can be switched on at any time, and for new channels it is a sensible safety net: you see each post before it goes out.
Check the first posts on each network
Each network gets its own text. The networks page gives examples: a short hook for X and Bluesky, a professional post for LinkedIn, a summary with bullet points for Telegram and a headline and summary for team chats. Look at your first posts through that lens. Does the LinkedIn post sound professional? Is the short post short enough? Does the Telegram summary have clear points?
Look at timing as well. The home page describes the blog at your hour, LinkedIn 30 minutes later, Facebook after two hours and Pinterest the next day. Check that the order and gaps match what you see. If a post appears at an odd time for your audience, think about whether to change the blog hour, since the delays follow from it.
Finally, check the link. Click it from the network, on a phone, and see where it leads. Make sure it opens the right article and that the page loads quickly. The article on how Autopilot writes for each network shows examples of each style.
When a network needs reconnecting
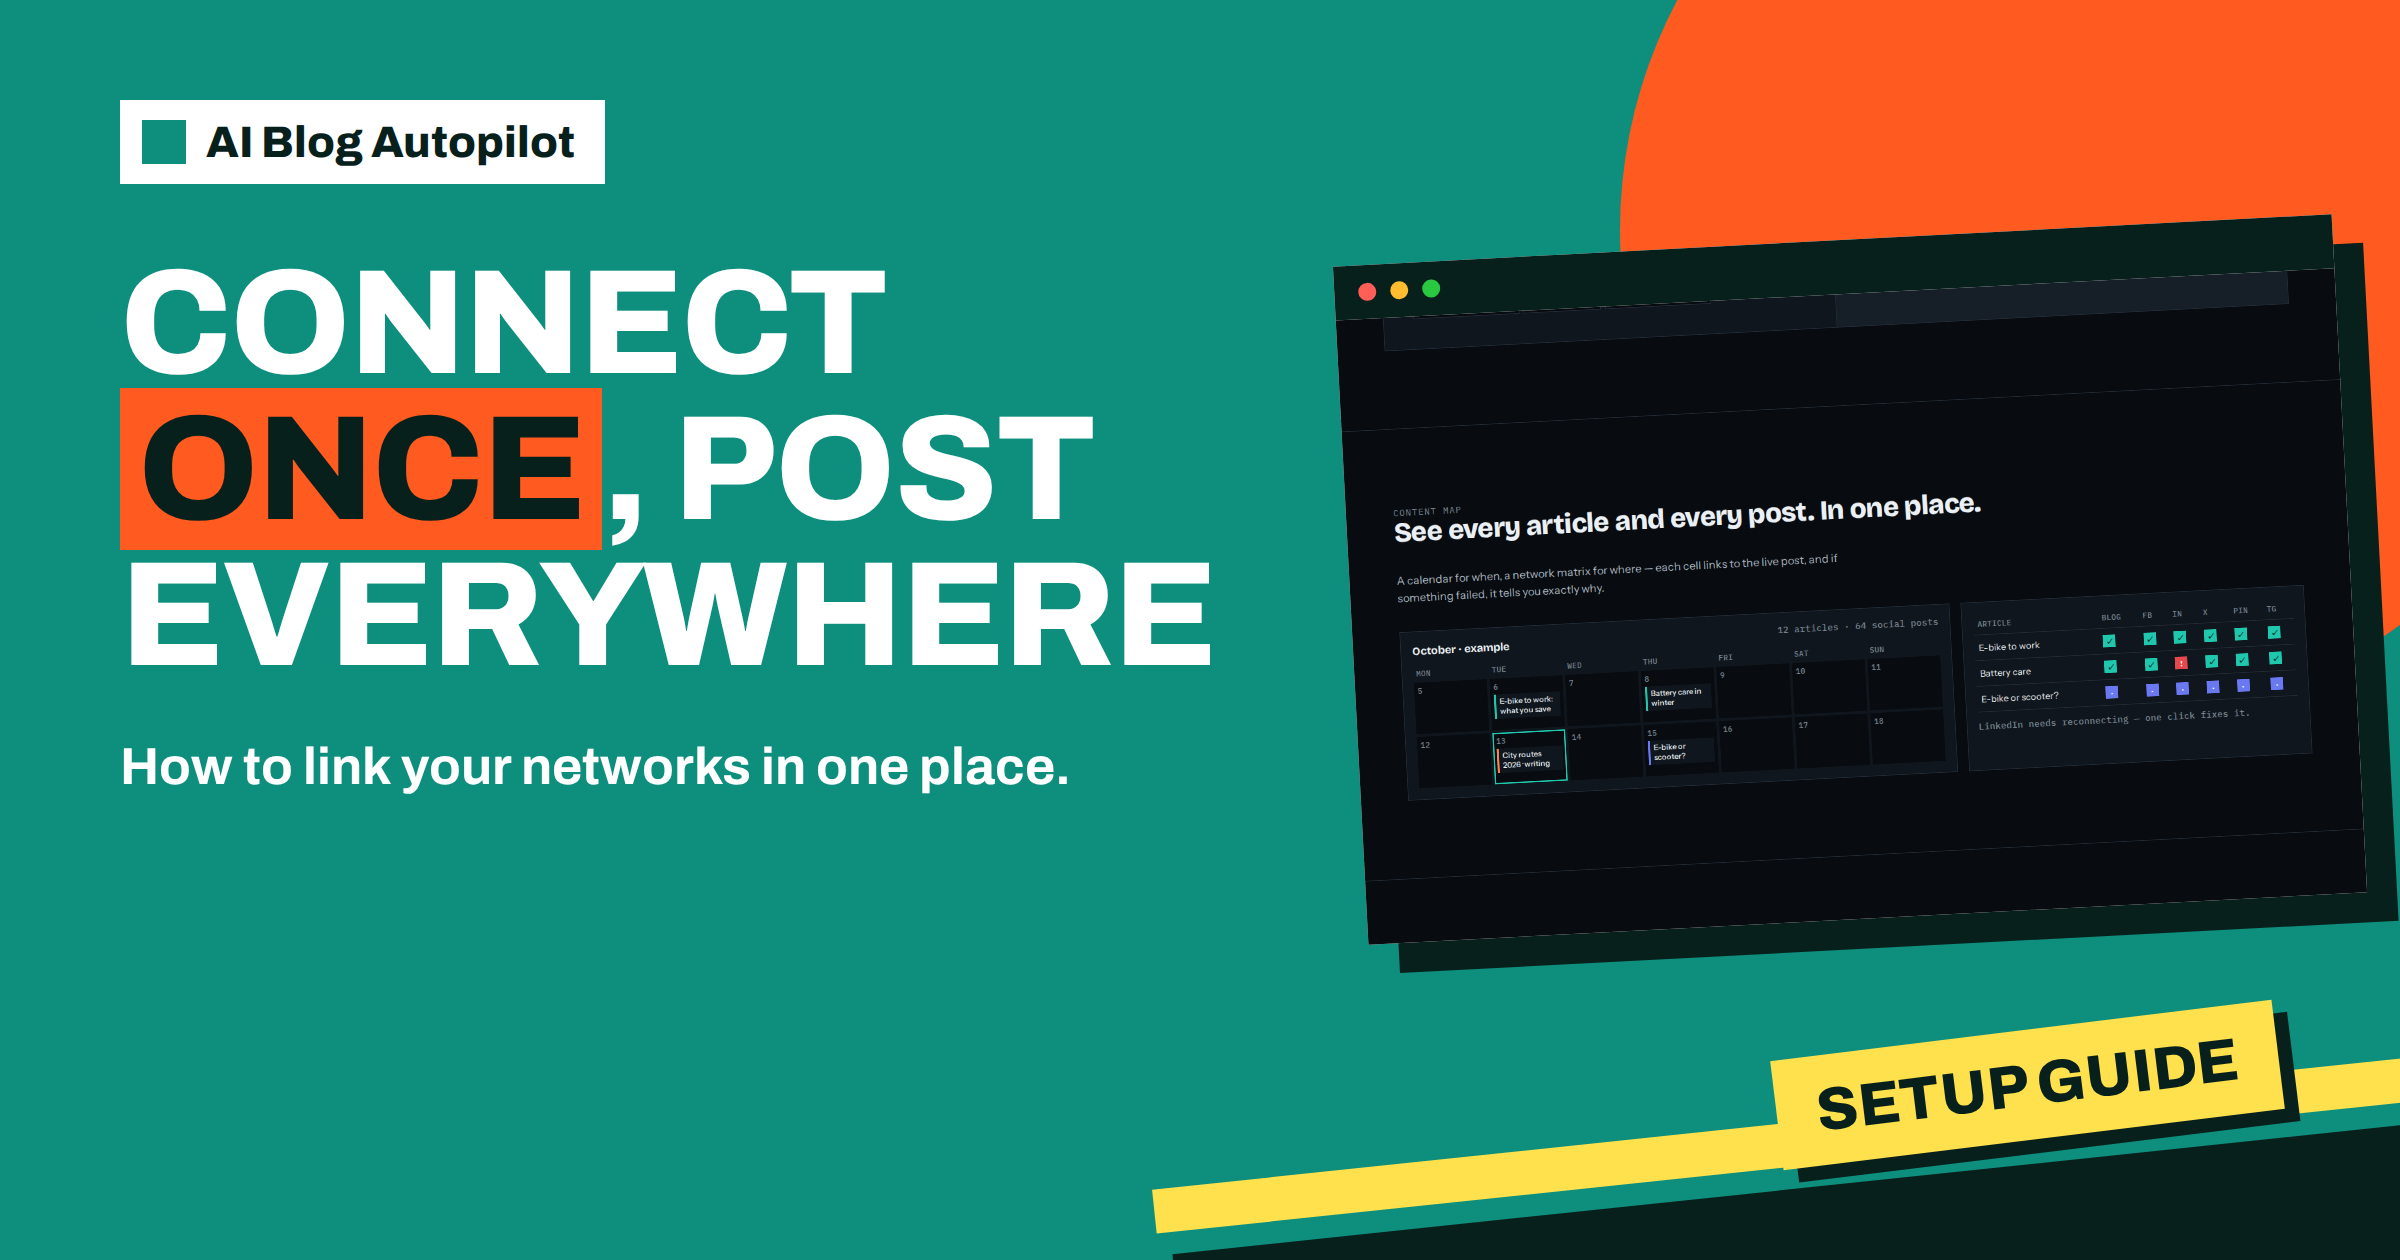
Connections do not last forever. Networks change permissions, passwords expire and tokens run out. The content map example on the home page shows how Autopilot handles this: one row has a warning, with a message that LinkedIn needs reconnecting and that one click fixes it.
The home page says that if something fails, the map tells you exactly why. So make the content map part of your weekly routine. A quick look at the network matrix shows ticks for posts that went out and a mark for anything that did not. Open the failed item, read the reason and fix the cause.
Most reconnections are simple. Click the reconnect prompt, log in to the network and approve. Then check that the next post goes out. If the problem returns, check the network’s status and rules, since some networks limit automated posting or require a re-approval. The article on fixing a failed network post gives a step-by-step routine.
Consider a short story. A small interior design studio wants to be on four networks. The owner makes a list: who owns each account, who the admin is and what the profile says. She finds that one page has an old admin who left the company, so she fixes that first. She connects LinkedIn on Monday, checks the first post, adds Facebook on Wednesday and Pinterest the following week. A month later, the content map shows a warning on Facebook. She clicks reconnect, approves and the next post goes out. The whole repair takes three minutes, because she knew where everything was.
The lesson is that connecting once is easy, but only if the groundwork is done. An hour of preparation prevents most of the problems later.
Permissions, security and who has access
Connecting a network gives a tool the right to post on your behalf, so treat it with the same care as a set of keys. Use accounts that belong to the business, not to an individual’s personal profile, wherever the network allows it. Use strong, unique passwords and, where the network offers it, two-step verification, kept on a device the business controls.
Limit who can connect and disconnect channels. In a small team, one or two people are enough. Record who they are, so that a colleague can step in when someone is away. When a person leaves the company, review which accounts they connected and whether they should still have access, and reconnect with a current account if needed.
Review the permissions each network shows during connection, and grant only what is needed. If you later remove the connection from Autopilot, also remove the app’s access in the network’s own settings, so no unused permissions remain. A short quarterly review of connected channels keeps the list tidy and secure.
A simple setup plan for the first two weeks
A plan keeps the work calm. On day one, list your candidate networks and decide on the first two. On day two, prepare the profiles and check the admin access. On day three, connect the first network and check that it shows as healthy. Use approval, and wait for your first post.
In the first week, read each post on the network itself, adjust the brief if needed and connect the second network. In the second week, review the result of both, add a third network if you have the capacity and write down what you learned. By the end of two weeks you should have a small, working set of channels, a record of who owns each and a first feeling for how your audience responds.
Do not worry about reaching every network at once. The list keeps growing, as the networks page says, and a modest start gives you time to learn. A tidy foundation is more valuable than a long list.
How AI Blog Autopilot helps
The product lets you connect each network once, in one place, then writes a native post for each with its own text and timing, and shows you on the content map if anything needs attention. Try it with the three free articles on AI Blog Autopilot, no card needed, and see the plans on the pricing page.
Related reading
- How Autopilot Writes for Each Network
- Fixing a Failed Network Post in Autopilot
- Choosing Social Networks for a Blog
The bottom line
Choose two or three networks, prepare real profiles with admin access, connect them one at a time, check the first posts and use the content map each week to catch anything that needs reconnecting.
SSS
Do I need other tools to connect my networks?
The networks page says you connect each network once in your Autopilot account and no other tools are needed.
How many networks can I connect?
The pricing page lists 5 social networks on Social and Starter, and all 60 on Growth, Pro and Agency.
What if a network stops working?
The content map shows what failed and why, and a reconnect prompt usually fixes it with one click.
Should I connect all networks at once?
No. Add one or two at a time and check the first posts before adding more.
Can I review posts before they go out?
Yes. Approval can be switched on at any time, which is useful for new networks.