ENEnglish
 LTLietuviškai
 DEDeutsch
 FRFrançais
 RUРусский
 ESEspañol
 PLPolski
 ITItaliano
 UKУкраїнська
 CSČeština
 PTPortuguês
 JA日本語
 LVLatviešu valoda
 ETEesti
 HUMagyar
 IDBahasa Indonesia
 TRTürkçe
 HIहिन्दी
 ELΕλληνικά
 ARالعربية
 THไทย
 VITiếng Việt
 RORomână
 MSBahasa Melayu
 BNবাংলা
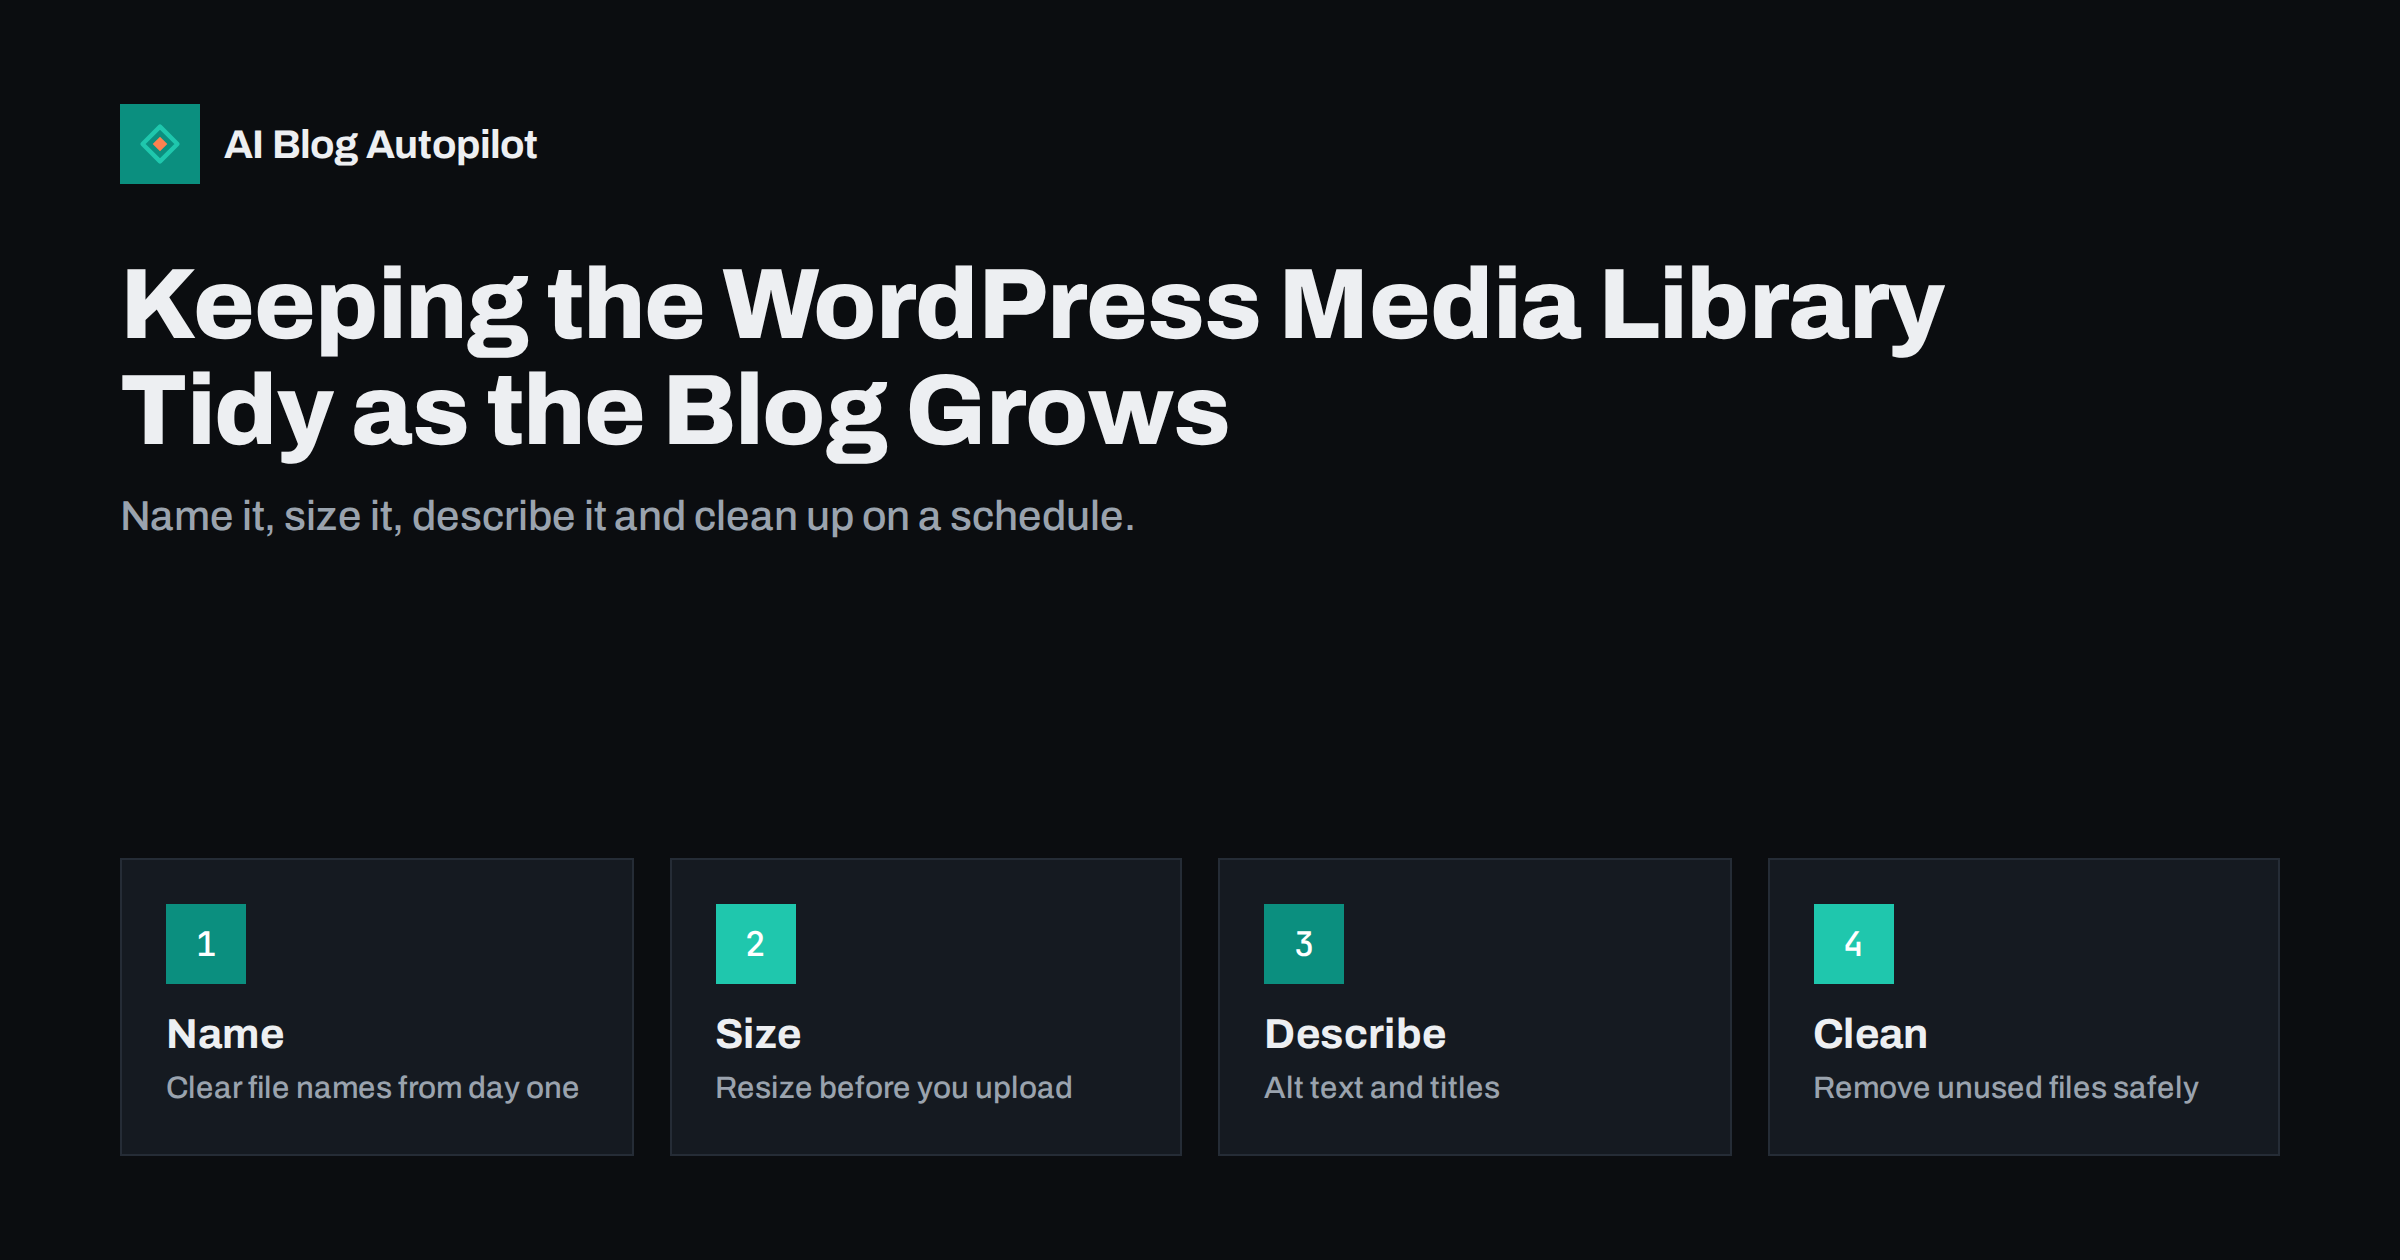
Short answer: keep the WordPress media library tidy by agreeing a file naming pattern, resizing and compressing images before upload, adding alt text and a clear title at upload time, avoiding duplicates and reviewing unused files two or three times a year. Always take a backup before deleting anything, and check that a file is not used in a post, a widget, a theme setting or an external link before you remove it. A tidy library saves storage, speeds up the site and makes the team’s work easier.
A new blog has a handful of images, and nobody worries about them. After two years of regular publishing, the library may hold thousands of files with names such as image-final-2, screenshot-1 and IMG_4821. Some are huge, some are duplicates, some belong to posts that were deleted. Finding the right file takes longer, and the site carries weight that it does not need.
This guide shows how to build good habits from the start, and how to clean an existing library without breaking pages. It applies to any WordPress blog, and it matters more for teams and for sites that publish often or automatically.
Why a tidy library matters
The most obvious reason is speed. Large images that are used at a small size slow down pages, especially on mobile connections. The guide on page speed for content sites explains how heavy images are a common cause of poor results. Every unnecessary kilobyte adds up across thousands of visits.
The second reason is search. Image file names, alt text and surrounding text help search engines understand the picture, and the pictures can appear in image search and in other features. A file called sunset-over-harbour.jpg tells more than IMG_4821.jpg. The article on image SEO for blog posts goes into this in more detail.
The third reason is efficiency. A writer who can find the right image in seconds, or who knows that a logo is stored in one place, saves time on every article. Duplicates cause confusion, and old versions of a graphic can find their way back into new posts. A clear system prevents these mistakes.
There is also a cost to storage and backups. Hosting plans have limits, and every backup copies the whole library. Cleaning out files that nobody uses reduces the size of backups and makes restoration faster.
Name files before you upload
Choose a pattern and write it down. A simple one is: topic-description-detail, in lower case, with words separated by hyphens and no spaces or special characters. For example, harbour-sunset-wide.jpg or invoice-template-screenshot.png. Keep names short, and leave out words such as image or photo, since the file type already says so.
Rename files on your computer before uploading, because WordPress keeps the original name in the address of the file. Renaming after upload can break links in posts that already use the image. If a rename is unavoidable, use a trusted tool that updates the references, and test after.
Avoid dates and version numbers in names unless they matter, such as a chart that shows data from a specific year. Names with final, new or latest become wrong quickly. If you need versions, store working files outside WordPress and upload only the final one.
For team use, add a short code for the project or the author where it helps. A team that works on several blogs or campaigns can use a prefix to find files quickly. The key is that the pattern is simple enough for everyone to follow.
Resize and compress first
Many uploads are far larger than needed. A photo straight from a phone may be four thousand pixels wide and several megabytes in size, while the blog displays it at eight hundred pixels. WordPress creates smaller copies, but the original stays in the library and may still be served in some cases.
Decide the largest size you need. For most blogs, a maximum width of around two thousand pixels is more than enough for full-width images, and smaller for images inside the text. Resize before uploading, and compress with a tool that keeps quality high at a smaller size. Aim for photos that weigh well under half a megabyte where quality allows.
Choose the right format. Photographs usually suit JPEG or modern formats such as WebP, while logos and simple graphics suit PNG or SVG. Screenshots with text may need PNG to stay sharp. Check that your theme and your readers’ browsers support the format you choose.
If many people upload, consider a plugin that resizes and compresses automatically. Test it on a few images first and check the quality. Be careful about adding too many plugins, as discussed in the article on how many WordPress plugins is too many.
Describe images at upload time
The best moment to add alt text is when you upload the image, because you know what it shows and why it is there. Write a short, plain description for people who cannot see it, and do not stuff it with keywords. If the image is decorative, leave the alt text empty on purpose. The guide to alt text: how to write it and why it matters gives examples.
Fill in the title and caption fields only when they add something. A caption appears under the image and is read by many visitors, so it should be useful. The title is rarely shown, so do not spend much time on it. Keep the description field for internal notes, such as the source, the licence and the date.
Record the source and licence for every image that you did not create. A short note in the description field, such as “stock photo, licence valid for commercial use, purchased on a given date”, will save you if someone asks. This habit is especially useful for teams, where the person who chose the image may not be the one who answers the question later.
Organise so people can find things
WordPress organises uploads by month and year by default. This is fine for small sites, but it makes browsing hard. Without a plugin, the best tools are consistent names, the search box and filters by type and date. For teams with many images, a plugin that adds folders or categories to the library can help, but test it on a copy first and check how it handles links.
Keep reusable assets in one clear place: logos, icons, author photos, brand graphics and templates. Note their names in your style guide so that writers do not upload a new copy each time. When a logo changes, replace the file in a controlled way and update the places where it is used.
Limit who can upload and delete. The article on WordPress user roles for a blog team explains how to give each person only the access they need. Writers can usually upload, but only an editor or an administrator should delete files.
Find duplicates and unused files
Duplicates arise when different people upload the same image, when an image is uploaded again after a rename or when an import creates copies. Look for files with the same size and similar names, or use a trusted tool that finds duplicates. Choose one copy to keep and plan how to replace the others.
Unused files are harder to find, because WordPress does not mark them. A file might be used in a post, a page, a widget, a theme option, a plugin setting, a custom field or an e-mail template, and it might be linked from other sites. A tool that scans for unused media can give a list of candidates, but treat it as a list to check and not as a list to delete.
Be cautious with featured images and with files used by page builders, which store references in unusual places. Check each candidate manually, or move it to a holding area for a few weeks and see if anything breaks before you remove it for good. Search engines and other sites may also link directly to image files, so consider the value of the traffic before deleting an image that ranks.
Think about images that live outside the library as well. Themes, page builders and plugins may keep their own copies of images in separate folders, and a clean-up of the media library will not touch them. If you move to a new theme, check that its images are not stored only in the old theme folder, which may be removed. Keep a list of where your brand assets are stored, so that a change of theme or plugin does not make them disappear.
A safe cleaning routine
Start with a full backup of files and database, and check that you can restore it. The guide on backups for a blog explains how. Do the cleaning on a staging copy first if you have one, and check the pages that use the most images.
Work in small batches. Delete the files that you are sure are unused, check the site and move on. Keep a log of what you removed and when, so that you can find a file in the backup if it turns out to be needed. If you resize old images in bulk, test the tool on a sample and compare the quality.
After cleaning, check for broken images with a crawl or a link checker, and look at the logs for requests that return errors. If an important image is missing, restore it from the backup and note why it was in use.
Set a schedule. A review two or three times a year is enough for most blogs. Put it in the calendar with the names of the people responsible, so that the library does not return to its old state.
How AI Blog Autopilot helps
AI Blog Autopilot creates a featured image for each article and uploads it to your WordPress library with a description, so that automated posts do not fill it with unnamed files. You can review each image before the article goes live. See the pricing page for plans and monthly credits.
Related reading
- Image SEO for Blog Posts: File Names, Size and Formats
- Alt Text: How to Write It and Why It Matters
- Backups for a Blog: The Boring Thing That Saves You
The bottom line
Name and resize files before upload, describe them at once, organise reusable assets and clean up on a schedule, with a backup and a log every time.
FAQ
Should I rename images after uploading them?
Avoid it. The name is part of the file address, and renaming can break links. Rename before upload.
What size should blog images be?
Resize to the largest size you display, often around two thousand pixels wide for full-width images, and compress them.
Is it safe to delete unused images?
Only after a backup and a manual check. Files may be used in widgets, theme settings or linked from other sites.
Do I need a plugin to organise the library?
Not always. Consistent names and filters work for small sites. Larger teams may benefit from a folder plugin, tested first.
How often should I clean the library?
Two or three times a year is enough for most blogs, with a backup before each clean-up.