ENEnglish
 LTLietuviškai
 DEDeutsch
 FRFrançais
 RUРусский
 ESEspañol
 PLPolski
 ITItaliano
 UKУкраїнська
 CSČeština
 PTPortuguês
 JA日本語
JA日本語 LVLatviešu valoda
 ETEesti
 HUMagyar
 IDBahasa Indonesia
 TRTürkçe
 HIहिन्दी
 ELΕλληνικά
 ARالعربية
 THไทย
THไทย VITiếng Việt
 RORomână
 MSBahasa Melayu
 BNবাংলা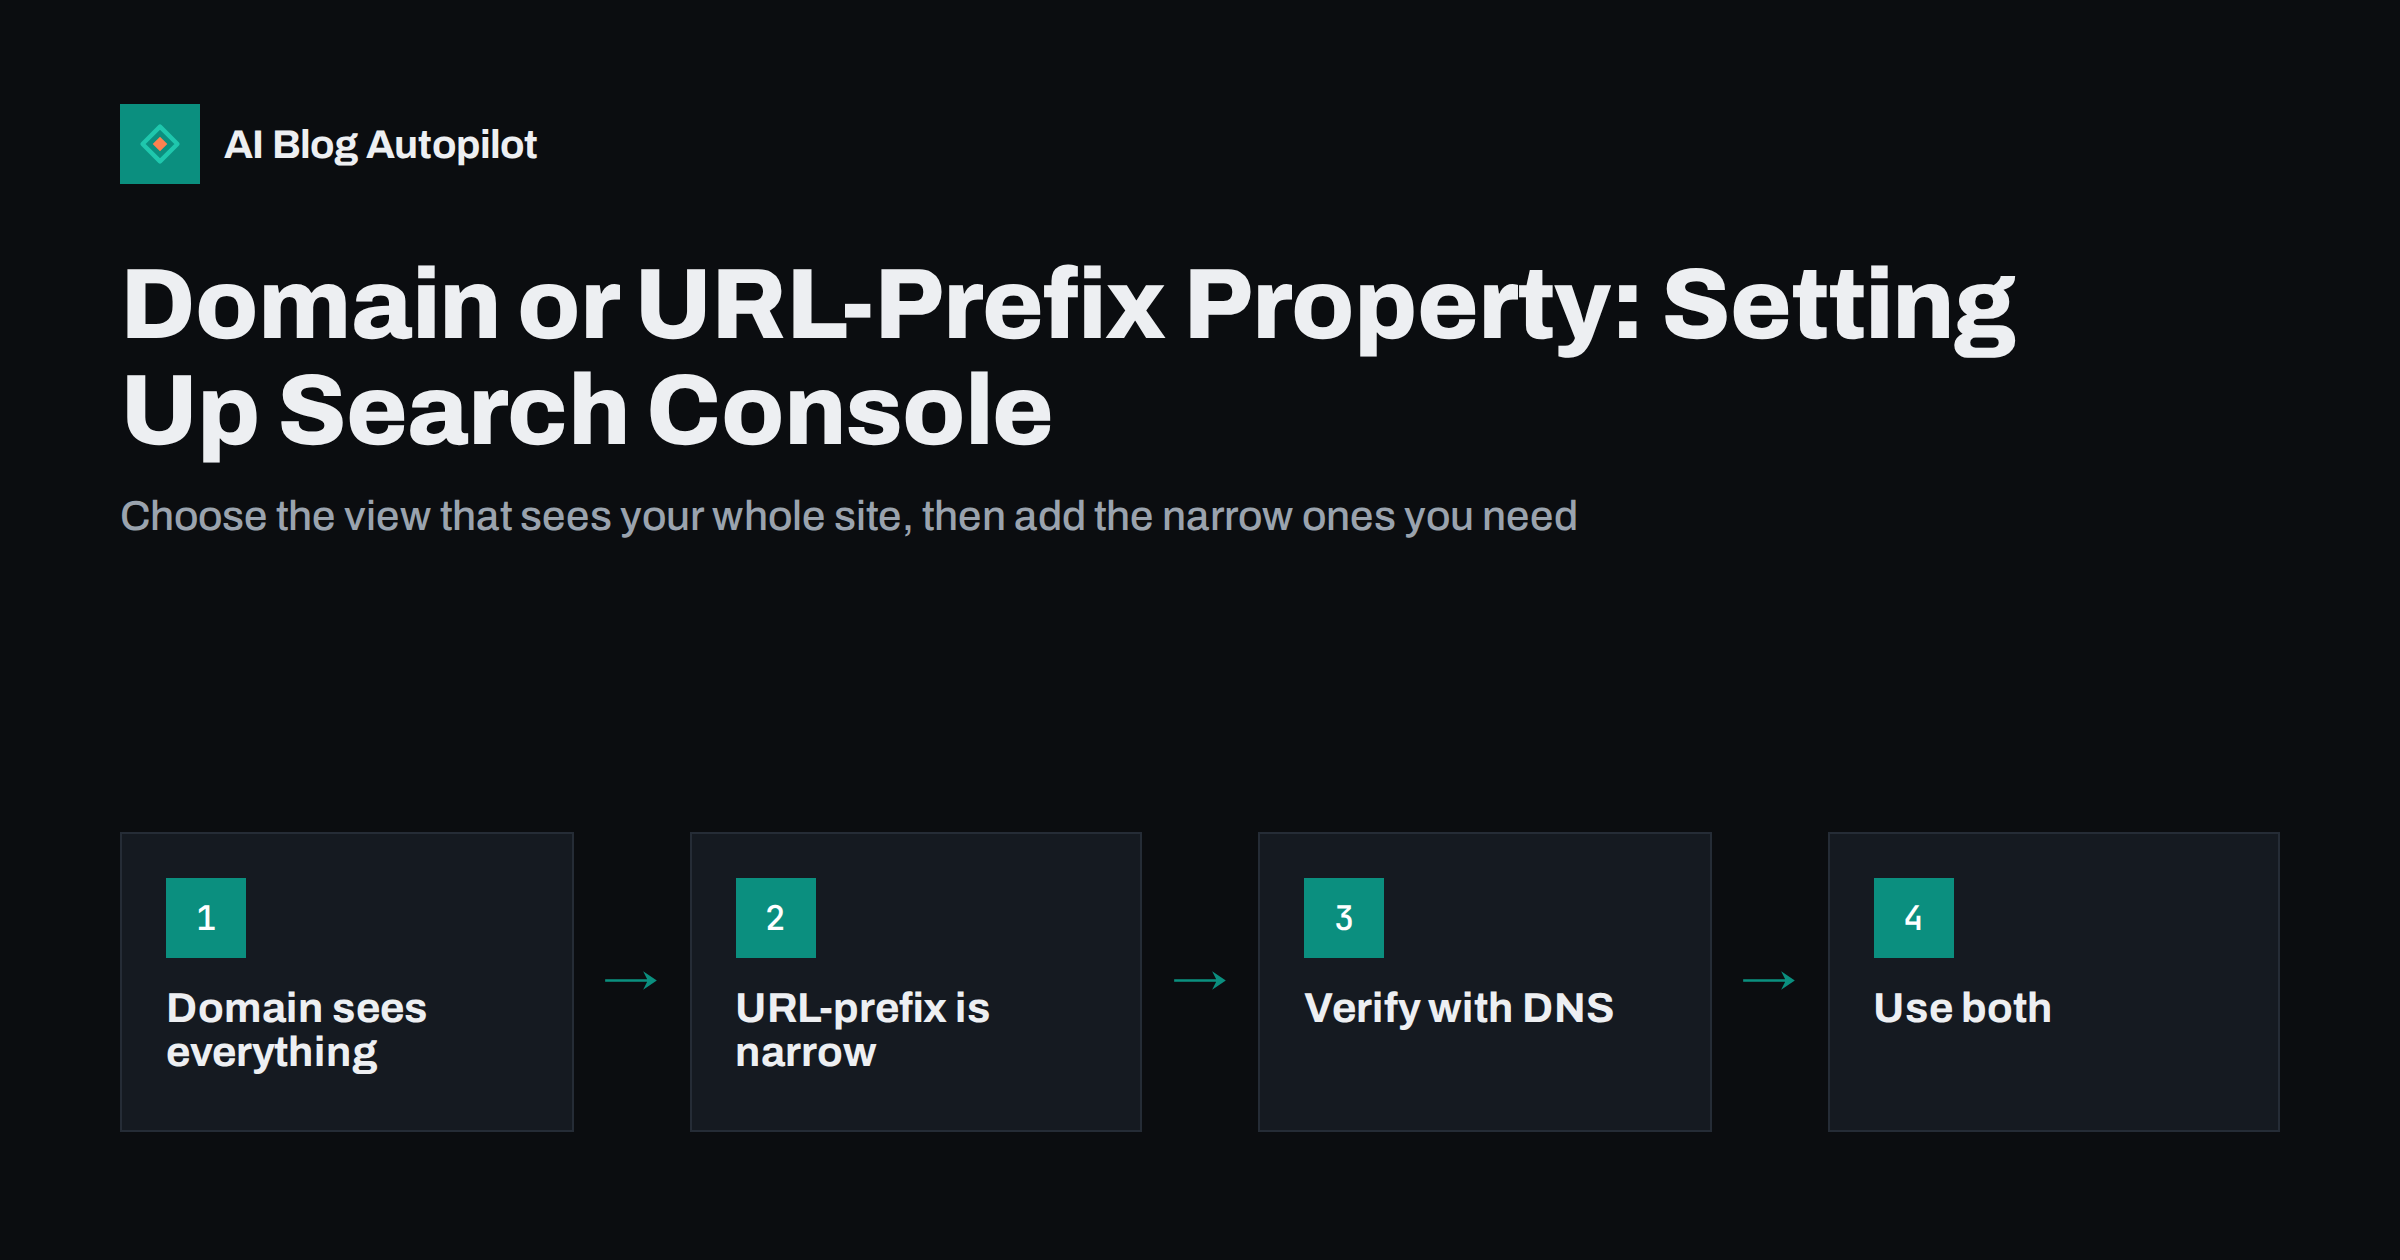
Short answer: a Domain property in Google Search Console covers every version of your site at once: HTTP and HTTPS, www and non-www, and every subdomain. A URL-prefix property covers only addresses that start with one exact prefix, such as https://www.example.com/blog/. For a blog, start with a Domain property, verified through DNS, so no traffic is hidden in a variant you are not watching. Add URL-prefix properties when you want a focused view of one section, subdomain or language folder.
Search Console is the most useful free tool a blog owner has for understanding search performance. But the very first choice it asks you to make, which type of property to add, trips up many people, and the wrong choice can leave part of your data invisible for months without anyone noticing.
This guide explains the two property types, how verification works, and a setup that suits most blogs.
What a property is
A property is the unit Search Console reports on. Every report, including performance, page indexing, sitemaps, links and experience, shows data for one property at a time. Which URLs that includes depends on the property type you chose.
You can add many properties to one account, and properties can overlap. The same page can appear in a Domain property and in one or more URL-prefix properties. Overlap is normal and often useful.
Domain properties
A Domain property is defined by a domain name alone, such as example.com. It includes:
- Both
http://andhttps://addresses. - Both
www.example.comandexample.com. - Every other subdomain, such as
shop.example.comorhelp.example.com. - Every path on all of those.
This makes it the most complete view of how your site appears in search. If some old links still lead to the HTTP version, or a forgotten subdomain is being indexed, a Domain property shows it.
The trade-off is verification. A Domain property can only be verified through DNS, by adding a TXT record to your domain’s DNS settings. That requires access to wherever your DNS is managed, often your domain registrar or a DNS provider, rather than just your website.
URL-prefix properties
A URL-prefix property is defined by the exact start of an address, including the protocol. https://www.example.com/ is one property. https://example.com/ is a different one. http://www.example.com/ is a third. https://www.example.com/blog/ is a fourth, covering only addresses under /blog/.
URL-prefix properties are precise and have more verification options:
- HTML file upload: upload a small file to your site.
- HTML meta tag: add a tag to your home page’s head, often through an SEO plugin.
- Analytics or tag manager: use existing tracking code if you have edit access.
- DNS: the same method as a Domain property.
The risk is that a URL-prefix property sees only what matches its prefix. If you add https://www.example.com/ but search engines have indexed some pages as https://example.com/, those pages simply do not appear in your reports.
Which to choose for a blog
| Situation | Recommended setup |
|---|---|
| A blog on its own domain | Domain property, plus optionally a URL-prefix property for the preferred version |
| A blog in a folder, such as /blog/, on a company site | Domain property for the whole site, plus a URL-prefix property for the /blog/ folder |
| A blog on a subdomain, such as blog.example.com | Domain property for the main domain, plus a URL-prefix property for the subdomain |
| A multilingual blog with language folders | Domain property, plus URL-prefix properties for each language folder you want to track separately |
| No access to DNS at all | URL-prefix properties for every variant you can verify, until DNS access is possible |
The pattern is consistent: a Domain property for the complete picture, and URL-prefix properties as focused slices. The slices make reports easier to read, because you do not have to filter out the rest of the site every time.
How to verify a Domain property
- Add the property. In Search Console, choose to add a property, select Domain and enter your domain name without protocol or www.
- Copy the TXT record. Search Console shows a verification string.
- Add it in your DNS settings. In your DNS provider’s control panel, create a new TXT record on the root of the domain with that value. Leave any existing TXT records in place; a domain can have several.
- Wait and verify. DNS changes can take anywhere from minutes to a day or so to be visible. Click Verify in Search Console; if it fails, wait and try again.
- Leave the record in place. Search Console checks verification periodically. Removing the record can cause you to lose access.
DNS verification has a practical advantage beyond coverage: it survives website changes. Meta tags and uploaded files can disappear when you change theme, switch SEO plugin or rebuild the site. A DNS record stays in place until someone deliberately removes it. The Search Console help page on verification lists all methods and their requirements.
Users and permissions
Once a property is verified, you can give others access without sharing your account. This matters for blogs run with agencies, freelancers or colleagues.
- Owners have full control, including adding and removing users. Verified owners proved ownership themselves; delegated owners were granted it by a verified owner.
- Full users can see all data and take most actions, such as submitting sitemaps and requesting indexing.
- Restricted users can see most data but cannot make changes.
Give each person the lowest level they need. When an agency or freelancer stops working with you, remove their access, and check whether they had added their own verification tokens, which would allow them to re-verify.
Keep ownership in your own business account, not in an employee’s personal account. When people leave, a property owned only by them becomes an avoidable problem.
Common setup mistakes
- Adding only one URL-prefix property. The most common mistake. Traffic to other variants goes unseen, and nobody knows it is missing.
- Adding the wrong variant. Verifying
http://when the site runs onhttps://leaves the property almost empty. - Relying on a meta tag that later disappears. A theme or plugin change removes the tag, verification lapses, and access is lost.
- Submitting the sitemap to a property that does not contain it. The sitemap must be within the property’s scope. A sitemap at the root of the domain works in a Domain property or the matching URL-prefix property.
- Forgetting subdomains. A help centre or shop on a subdomain can be indexed with problems nobody sees if it is not covered.
- Only one owner. If that person leaves or loses access to their account, recovering the property takes time.
If you already have only a URL-prefix property
Many blogs were set up years ago with a single URL-prefix property, often before Domain properties existed. There is no need to delete it. Instead:
- Add a Domain property alongside it and verify it through DNS.
- Compare the two performance reports for the same date range. If the Domain property shows noticeably more clicks or impressions, some traffic has been reaching variants the old property did not cover.
- Find out which variants. In the Domain property’s performance report, look at the pages list for addresses with a different protocol or host, then fix the redirects or canonicals that let them be indexed.
- Keep the old property. It holds history and may still be the most convenient view of your preferred version. Settings such as submitted sitemaps and user permissions also stay in place.
Most blogs that do this discover either nothing, which is reassuring, or a small leak through an old variant that is easy to close once visible.
What to do after setup
With the property verified, a few first steps make the data useful from the start.
- Submit your XML sitemap in the Sitemaps report.
- Check the page indexing report after a few days to see which pages are indexed and why others are not.
- Inspect a few important URLs to confirm the canonical Google selected matches yours.
- Look for unexpected hosts. In a Domain property, the performance report can reveal traffic to variants or subdomains you did not expect.
- Link your analytics if you use a tool that supports it, so search data and on-site behaviour can be viewed together.
- Set up email notifications for the owners, so critical issues reach someone.
Search Console keeps performance data for sixteen months. Setting up properties early and exporting key reports now and then means you have a baseline to compare against when something changes.
How AI Blog Autopilot fits in
AI Blog Autopilot writes SEO articles, publishes them to your WordPress blog and shares each one to your social networks. On the Pro and Agency plans it can also import topics from Search Console, which uses your search query data as a source of article ideas. A correctly set up property, covering all of your blog’s addresses, gives that import complete data to work from. Plan details are on the pricing page, and an overview of how it works is on the AI Blog Autopilot home page.
Related reading
- Google Search Console: The Five Reports That Matter
- Setting Up a New Blog for SEO: The First Day
- One Version of Every URL: www, HTTPS and Trailing Slashes
- XML Sitemaps Explained for People Who Publish
The bottom line
Start with a Domain property verified through DNS: it sees every protocol, host and subdomain, and its verification survives website changes. Add URL-prefix properties for the sections you want to watch closely, such as a blog folder, subdomain or language. Keep ownership in a business account with more than one owner, give others the least access they need, and set everything up early so the history accumulates.
FAQ
What is the difference between a Domain and a URL-prefix property?
A Domain property covers every protocol, host and subdomain of a domain. A URL-prefix property covers only addresses that begin with one exact prefix, including the protocol and host. The Domain property gives the complete picture, while URL-prefix properties give focused views.
Can I have both a Domain property and URL-prefix properties?
Yes, and it is a common setup. The same pages appear in both, which is fine. The Domain property shows everything, and URL-prefix properties make it easier to look at one section on its own.
Why can I only verify a Domain property with DNS?
Because a Domain property covers every subdomain and protocol, proving control of the domain itself is required. A DNS TXT record demonstrates that control. URL-prefix properties can use other methods because they cover only one specific address start.
Will I lose Search Console data if I change my website theme?
The data stays, but if your property was verified with a meta tag or file that the new theme or plugin removes, verification can lapse and you may lose access. DNS verification avoids this problem.
Should a blog in a /blog/ folder have its own property?
It is useful to add a URL-prefix property for the folder alongside the Domain property. Reports for the folder then show only blog pages, without filtering out the rest of the site each time.