ENEnglish
 LTLietuviškai
 DEDeutsch
 FRFrançais
 RUРусский
 ESEspañol
 PLPolski
 ITItaliano
 UKУкраїнська
 CSČeština
 PTPortuguês
 JA日本語
 LVLatviešu valoda
 ETEesti
 HUMagyar
 IDBahasa Indonesia
 TRTürkçe
 HIहिन्दी
 ELΕλληνικά
 ARالعربية
 THไทย
 VITiếng Việt
 RORomână
 MSBahasa Melayu
 BNবাংলা
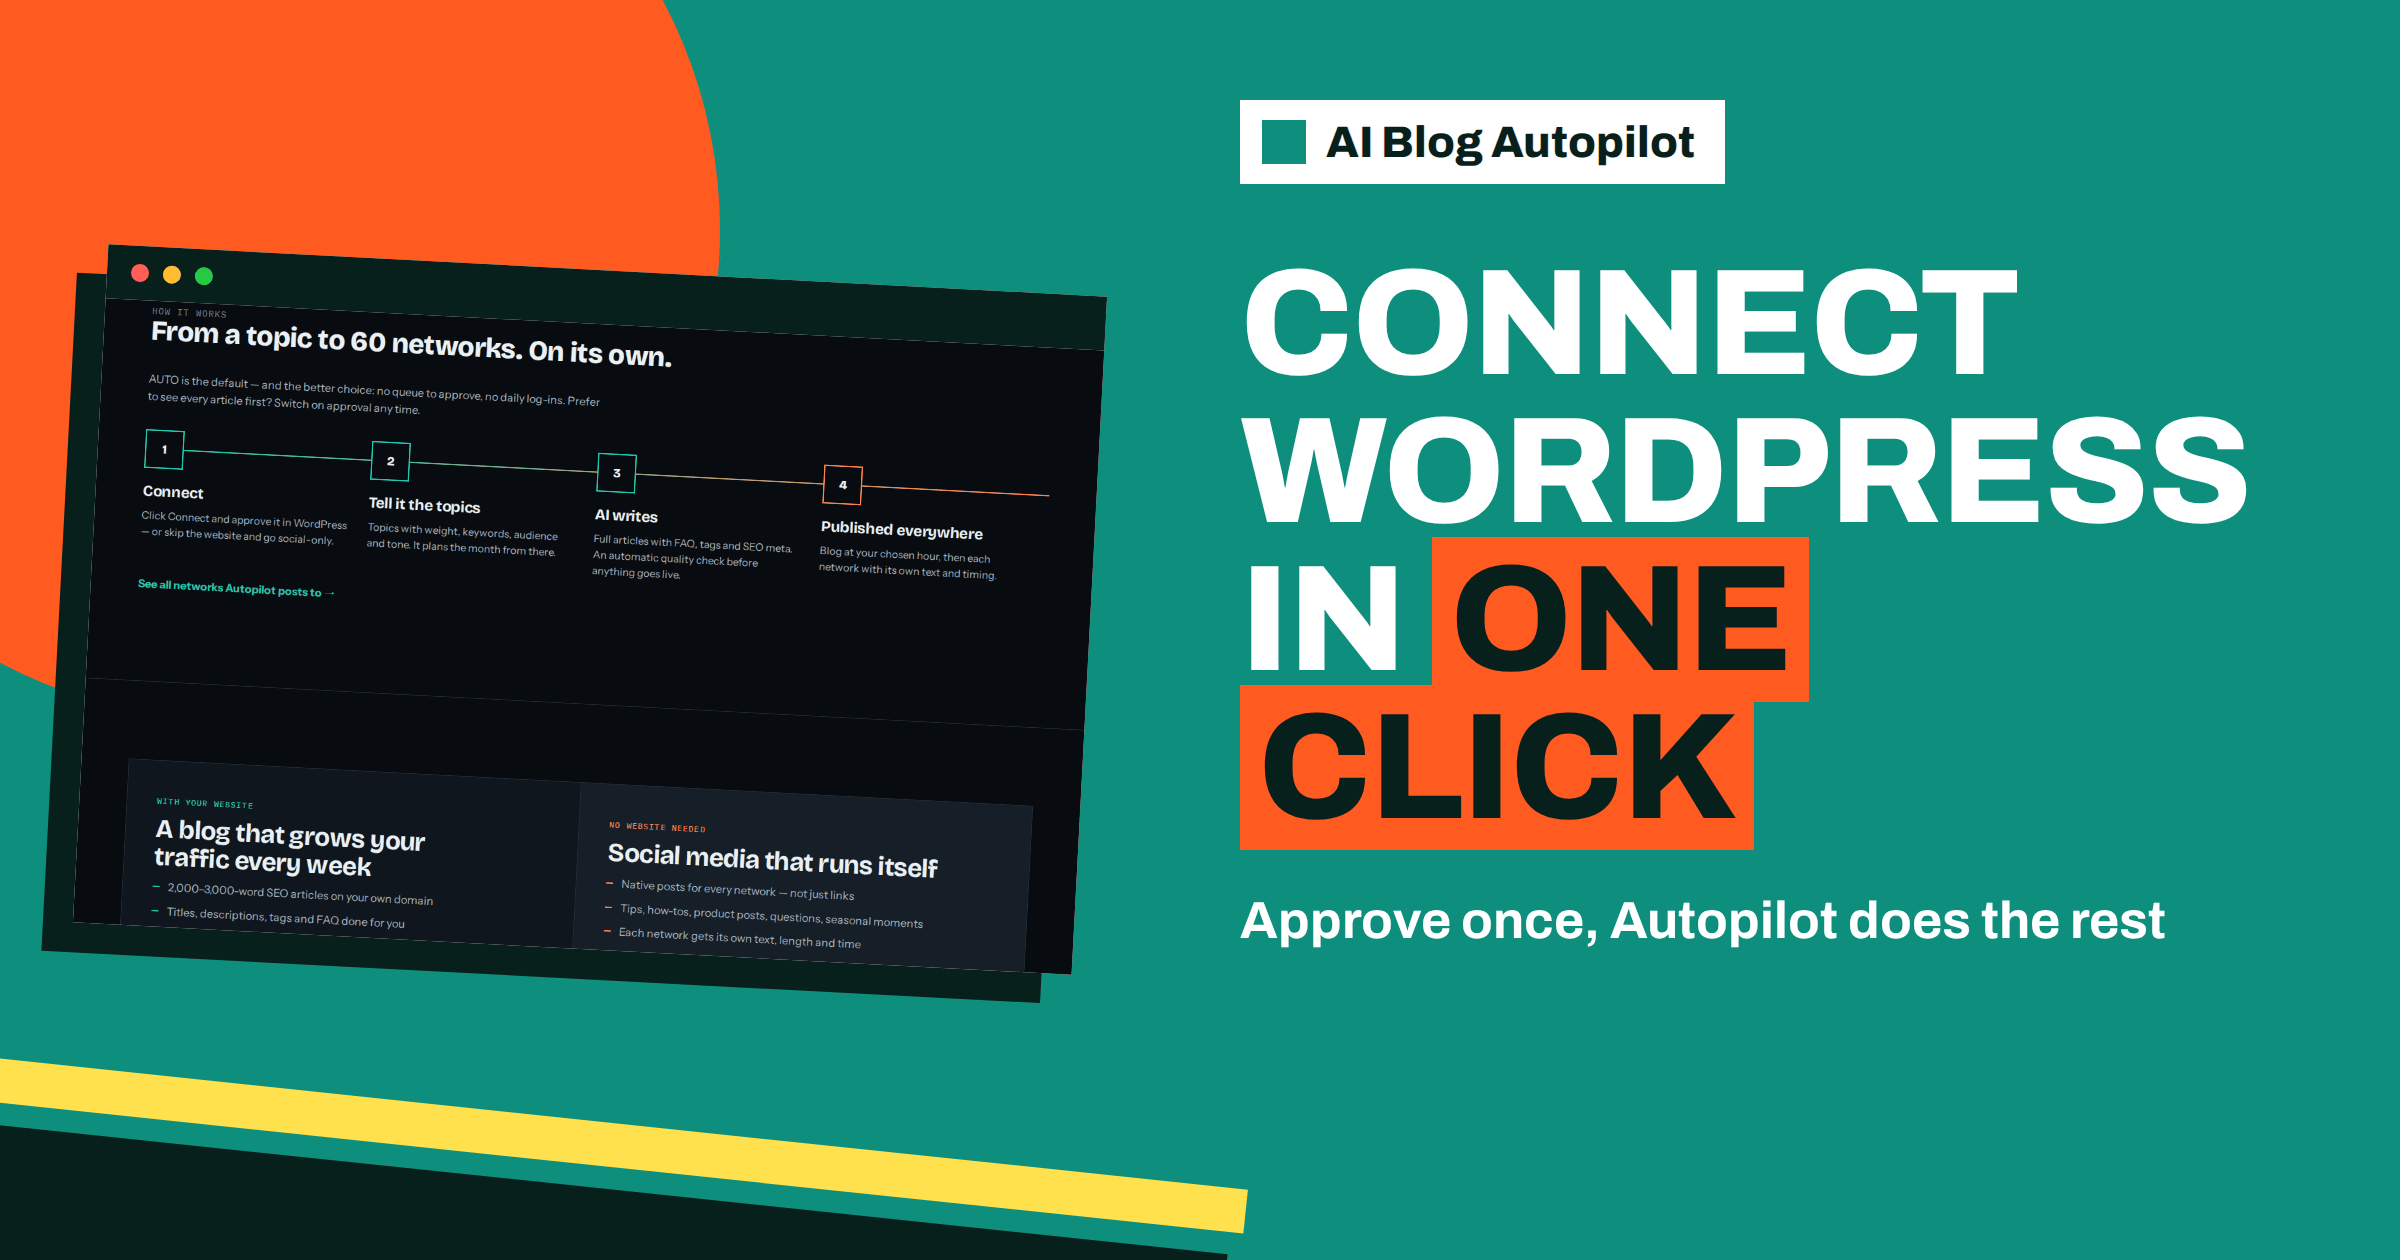
Short answer: in AI Blog Autopilot you click Connect, WordPress asks you to approve the connection, and that is it. If you prefer, you can paste a WordPress application password by hand instead. Before you start, make sure you can log in as a user who may publish posts, that the site uses HTTPS, and that no security plugin blocks the connection.
Connecting a website is the step that makes many people nervous. Handing a tool access to a live blog sounds risky, and old methods of doing it meant sharing a main password. WordPress now has a safer built-in way, and AI Blog Autopilot uses it. This guide explains what the connection involves, what to prepare, how the two routes differ and how to confirm that everything works.
The product facts here come from the home page, which describes the connection in the how-it-works steps and the questions at the end. Details of individual screens may change, so treat this as a map and check the account for the exact wording.
What the connection does
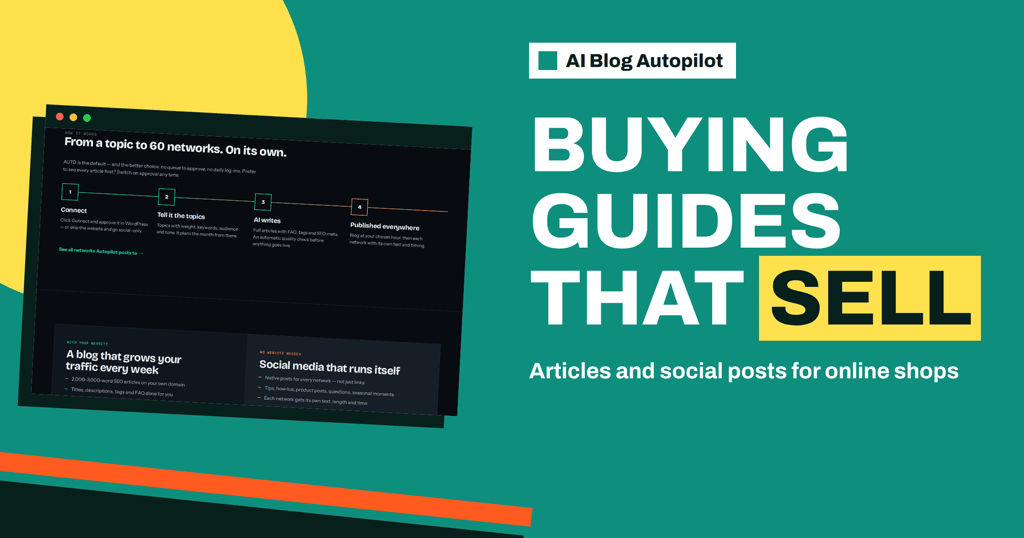
The home page lists WordPress as a one-click connection, next to a webhook or API option, and says more platforms are coming soon. Once connected, the product can publish the articles it writes to your blog at the hour you choose. The home page describes the sequence in four steps: connect, tell it the topics, the writer produces the article, and then the article is published on your blog and shared to the networks.
The connection is only about the website. Social networks are connected separately. The networks page says you connect each network once in your Autopilot account and that no other tools are needed. So the website connection and the network connections are two different jobs, and you can do them in either order.
If you have no website, you do not need this step at all. The home page offers social-only mode, and your plan moves with you if you add a blog later. The article on social-only mode covers that setup.
Before you click: three things to check
First, the user. Connecting happens through a WordPress account, and the connection can only do what that account can do. For a blog that publishes articles, the account should be allowed to create and publish posts. An account that can only write drafts may lead to articles that wait for review instead of going live. Decide who owns the connection, and prefer a named account that belongs to the business, not a personal login of someone who might leave. The guide to WordPress user roles for a blog team explains the roles in plain words.
Second, the address. WordPress application passwords, the feature behind a safe connection, are normally available only on sites served over HTTPS. If your site still loads over plain HTTP, fix that first. It matters for visitors and search engines anyway.
Third, the version. Application passwords are a standard part of WordPress in recent versions. If your site runs an old release, update it before you connect, and make a backup before you do. The guide on updating WordPress safely gives a short routine.
Route one: Connect and approve
This is the default route and the one the home page highlights. You click Connect in your Autopilot account. WordPress then shows its own screen, asking whether you want to allow the application to connect to your site. You log in if needed and approve it. WordPress creates an application password for the connection and passes it back, so you never copy a password by hand.
The advantage is that you approve everything inside WordPress, on your own domain, and you can see and remove the connection later. Nothing needs to be edited in files or plugins. For most blogs this takes a minute or two, and it is the reason the home page describes the step as one click.
Check the address bar when WordPress asks for approval. It should show your own website, in the form you normally use to log in. If you use a custom login address or a security plugin that hides the standard one, you may need to log in first in another tab and then return to the approval screen.
Route two: paste an application password
The home page also says you can paste an application password manually. This route suits sites where the automatic screen cannot be reached, for example because a plugin changes the login flow or the person approving is not the one who can log in to the site. In that case, the account owner creates an application password in WordPress, usually from the user profile page, and passes it to the person who sets up the connection.
When you create one, give it a name that tells you what it is for, such as the product name and the date. WordPress shows the password only once, in groups of letters. Copy it straight into the product and do not store it in a chat or a shared document. If it leaks, you can revoke it from the same profile page without changing the main password.
Whichever route you choose, you are not giving the product your normal login. An application password is a separate credential, limited to the account that created it, and you can cancel it at any time.
Two websites need two connections. The Growth plan lists 2 websites, Pro lists 5 and Agency lists 20, so decide which of your sites will use the product and connect them one at a time. Give each connection its own clear name on the WordPress side, so that months later you can tell which application password belongs to which service and remove the right one if you ever need to.
It also helps to test on a staging copy if your site has one, especially if the theme is heavily customised. A staging test shows how the articles look before any reader sees them, without risk to the live pages.
Decisions to make before the first article
Once the connection is made, a few choices decide how your blog looks. Think about the category the articles should go into, and whether your theme shows categories in the menu. The product creates articles with tags and SEO meta, according to the home page, so check that your theme and SEO plugin display them properly. If you already use an SEO plugin, look at how titles and descriptions appear on a test post.
Choose the publishing hour. The home page says the blog goes live at the hour you choose, and the networks follow with their own timing. Pick an hour when your readers are likely to arrive, and think about the time zone of your WordPress settings. If the site is set to a different time zone from your own, the hour may not mean what you expect. The article on scheduling posts in WordPress explains time zone traps.
Decide on approval. AUTO is the default, with no queue to approve, but approval can be switched on. For the first few articles on a live blog, many owners prefer to approve each one and then relax the process.
What can block the connection
If the approval screen does not appear, or the connection fails, look at the usual causes. A security plugin or a hosting firewall may block the WordPress REST interface, which connections rely on. Some plugins offer an option to disable the REST interface for visitors who are not logged in; check that it does not apply to the connection. Some hosts also block automated requests from unknown addresses, and your host’s support team can tell you whether that is happening.
Another cause is a site that redirects between addresses, for example between the version with and without www, or from HTTP to HTTPS. Enter the address exactly as your site loads in the browser after redirects. A third cause is a caching or maintenance plugin that returns a holding page to all requests. Switch it off briefly while you connect.
Finally, check that application passwords have not been disabled by a plugin or by a line in the site’s configuration. Some security setups turn them off on purpose. If yours has, you can ask whoever manages the site whether it can be allowed for a single account.
Checking that it worked
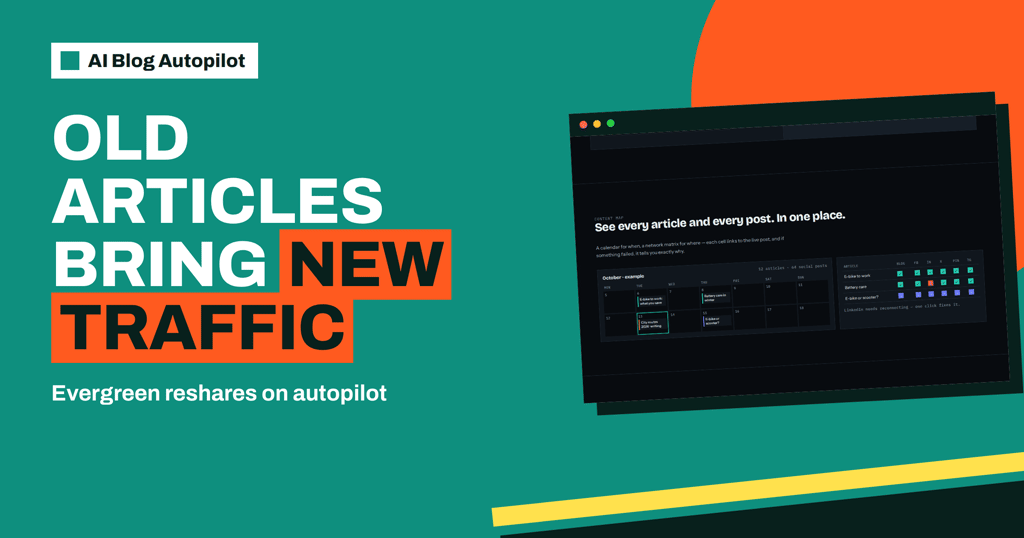
After connecting, do not wait for the first scheduled article to find out. Check the connection status in your account, and plan a first article for a time when you can watch. The content map, described on the home page as a calendar with a network matrix, shows each article and each post, and each cell links to the live post. If something failed, the page says it tells you exactly why.
When the first article is published, open it on your site as a visitor would. Check the title, the headings, the featured image, the tags and the category. Look at it on a phone. Then view the page source or an SEO plugin’s panel for the meta description. If any of this looks wrong, fix the theme or plugin setting that causes it rather than editing each article by hand.
Keep a short note of who connected the site, when, and with which account. If that person leaves, you will want to reconnect with another account. Revoking the old application password in WordPress, from the user profile, takes a moment and closes the old access.
How AI Blog Autopilot helps
The product keeps the connection simple on purpose: one click, an approval in your own WordPress and no main password shared. You can test it with the free articles, which need no card. Read more on AI Blog Autopilot, and see which plan fits the number of websites you run on the pricing page.
Related reading
- Connecting WordPress to an Automated Publishing Tool, Safely
- WordPress User Roles for a Blog Team
- Updating WordPress, Plugins and Themes Safely
The bottom line
Click Connect, approve inside WordPress, or paste an application password if you must, and check HTTPS, the account’s role and security plugins first so the connection works the first time.
DUK
How do I connect WordPress to AI Blog Autopilot?
Click Connect. WordPress asks you to approve the connection, and that is it. You can also paste an application password manually.
Does the product need my main WordPress password?
No. The connection uses a WordPress application password, which is separate from your login and can be revoked from the user profile.
Can I use it without a WordPress site?
Yes. The home page lists a webhook or API option and says more platforms are coming soon. Social-only mode is also available without a website.
What should I check if the connection fails?
Check that the site uses HTTPS, that no security plugin or firewall blocks the REST interface and that application passwords are enabled for the account.
How do I remove the connection?
Revoke the application password in the WordPress user profile, then reconnect with another account if needed.