ENEnglish
 LTLietuviškai
 DEDeutsch
 FRFrançais
 RUРусский
 ESEspañol
 PLPolski
 ITItaliano
 UKУкраїнська
 CSČeština
 PTPortuguês
 JA日本語
 LVLatviešu valoda
 ETEesti
 HUMagyar
 IDBahasa Indonesia
 TRTürkçe
 HIहिन्दी
 ELΕλληνικά
 ARالعربية
 THไทย
 VITiếng Việt
 RORomână
 MSBahasa Melayu
 BNবাংলা
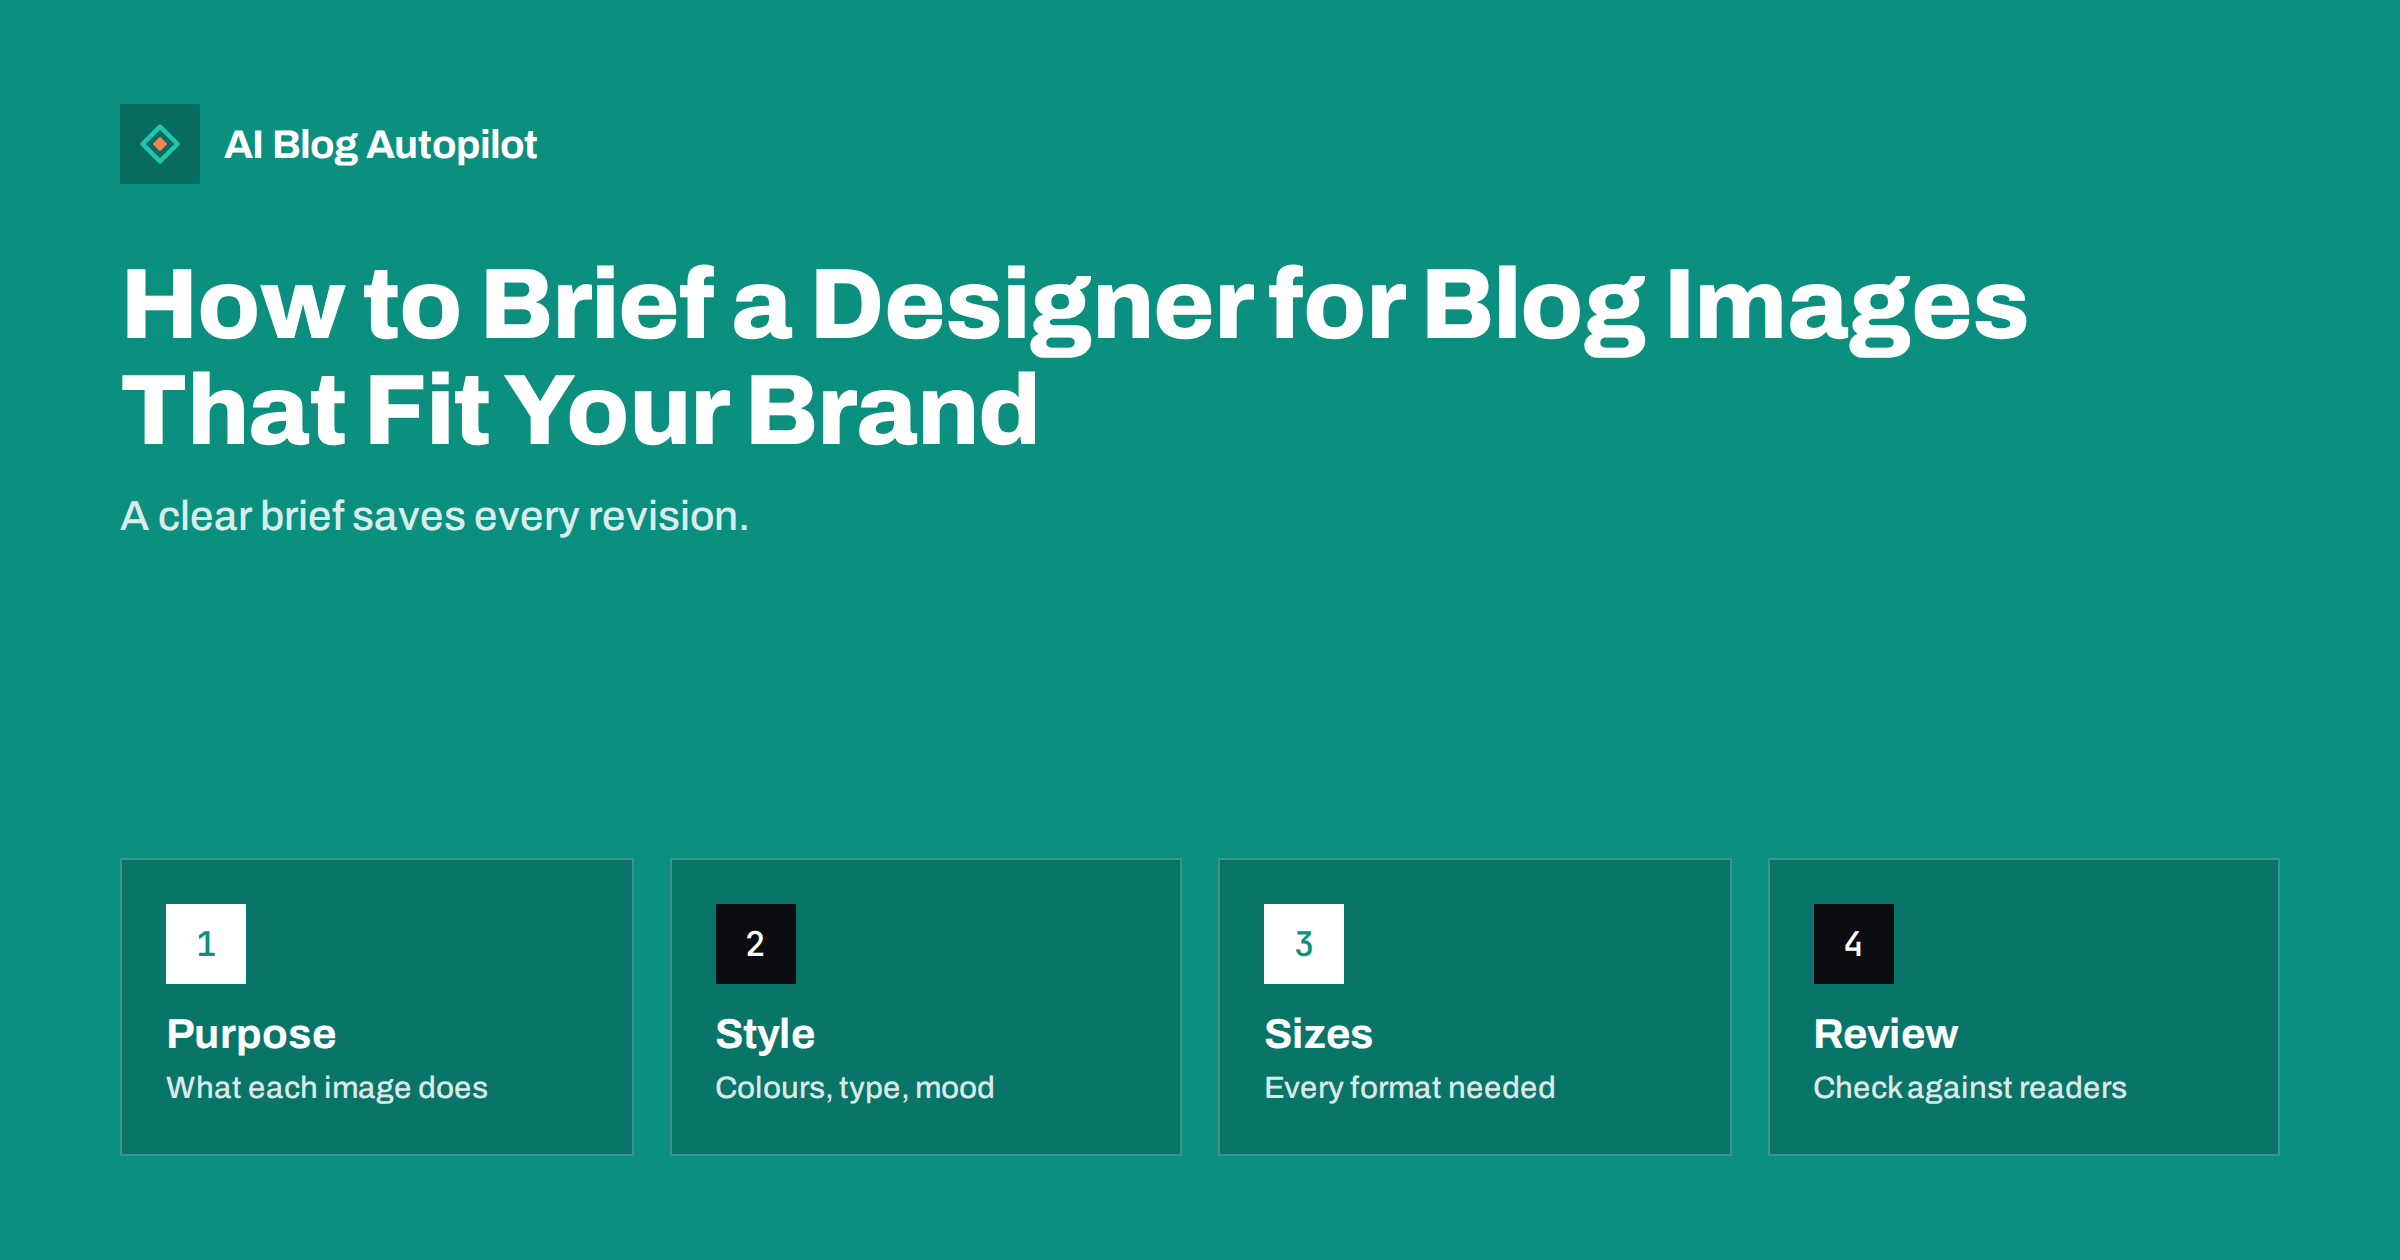
Short answer: brief a designer by saying what each image must do for the reader, giving brand colours, fonts and examples, listing every size and format needed, setting the deadline and review steps, and explaining how the images will be used and credited. A short, specific brief saves rounds of changes and keeps your blog looking consistent.
Blog images do much of the work of a first impression. They appear in search results, social shares and listing pages, and they decide whether a reader clicks. Yet many bloggers give designers a vague request such as make it look nice and are disappointed when the result does not fit.
This guide shows how to write a brief that gets good results the first time, whether you work with a freelancer, an agency or a colleague. It also helps when you use image tools, because the same questions apply to any image you commission.
Decide early whether you need one image or a set. A single featured image for one article is a different job from a series of covers for a year of posts. For a series, tell the designer how many images there will be, how they should relate to one another and what should change from one to the next, such as a colour for each category or a different central object.
Give the designer some context about your readers’ tastes. If your readers are busy professionals, clean and direct images may work better than decorative ones. If they are hobbyists, warmer and more detailed images may fit. A paragraph of this kind guides many small decisions.
Start with the purpose of the image
Every image should have a job. A featured image attracts clicks and represents the article on listing pages and social networks. A diagram explains a process. A screenshot proves a point. A photograph shows a person or a place. Tell the designer which job each image has, because the choice of style and content follows from it.
Describe the reader. Who will see the image, where and on what device? A cover seen as a small thumbnail on a phone needs bold shapes and little text. A diagram in the middle of an article can be more detailed. Knowing the audience helps the designer choose the right level of detail.
Share the article, or a summary of it, so the designer understands the subject. Point out the main message in one sentence, and say what you want readers to feel or do. A designer who understands the purpose will often suggest better ideas than the ones you had in mind.
Include examples of past images that worked well, with any numbers you have, such as which cover got the most clicks in a social share. Evidence helps the designer see what your audience responds to. If you have no data yet, say so, and treat the first batch as an experiment to learn from.
Mention the competitors or neighbours whose look you want to avoid copying. A designer can then make sure your images are recognisably yours. Distinctive images are remembered, and a consistent but unusual look is one of the cheapest ways to stand out in a crowded feed.
Describe your brand in concrete terms
Give your colours as exact values, and your fonts by name, including where to get them and what licence applies. Provide your logo in the right formats and explain the rules for its use: clear space, minimum size and backgrounds on which it should not appear. A brand sheet, even one page, prevents many misunderstandings.
Describe the mood in plain words, with contrasts: friendly but not childish, professional but not cold, bold but not noisy. Words such as modern are too vague, so add examples. Show three images you like and, equally important, two you dislike, with a sentence on why.
State what to avoid. For example: no stock photos of people shaking hands, no white backgrounds, no text over faces, no clip art. These rules save time and make the images distinctive. The guide to featured images for automated posts lists further things to avoid.
Think about accessibility from the start. Ask for strong contrast between text and background, avoid thin fonts on busy pictures and keep important information out of colour alone. An image that works for readers with weaker eyesight works better for everyone, and it costs little if built in from the beginning.
List every size and format
Specify the dimensions and file types for each use. A featured image may need one size for the blog, another for social networks and another for email. Give the pixel sizes, the aspect ratios, the maximum file size and the format, such as JPEG, PNG or WebP. Ask for sharp images that stay clear on large screens.
Tell the designer where text will sit. If a title will be added by your system, leave a clear area for it. If the image includes text, provide the exact wording, check for spelling and ask for the text to be readable at thumbnail size. Avoid placing important content near the edges where it may be cropped.
Plan for cropping. Social networks crop images differently, so ask the designer to keep the main subject in a safe central area. The guide to image sizes and crops for social posts explains the common pitfalls.
Keep a simple folder of approved material that you can send with every brief: logo files, brand colours, product photographs, team portraits with permission and past images that you liked. When a brief arrives with a complete folder, the designer can start immediately, and you avoid sending files piecemeal across several emails.
Supply content, not just wishes
Provide the material the designer needs: logos, product photos, screenshots, data for charts and the exact wording of any labels. Check that you have the right to use everything you supply, and say what credit is required. Late or missing material is the commonest cause of delay.
For charts and diagrams, send the data in a clean table, with units, sources and the point you want to make. Ask for the key message to be clear in a few seconds. The guide to screenshots, diagrams and charts in articles explains how to make them clear and honest.
Include alt text ideas, too. Describe what the image shows in a sentence for people who cannot see it. A designer can often help, since they know what the image contains. Good alt text helps accessibility and search, as the guide to writing alt text explains.
Allow time for review on your side. A designer who delivers on schedule cannot help if feedback takes a week. Put your own review dates in the diary when you agree the deadline, and tell the designer when you will be unavailable. Respect for each other’s schedules is a large part of a good working relationship.
For regular work, consider a monthly arrangement with a fixed number of images. It saves negotiation each time, and the designer learns your style, which makes each batch faster and better than the last.
Set the timeline, budget and rounds
Be clear about when you need the images, how many versions you expect and how many rounds of changes are included. A typical process has a first idea, one round of feedback and a final version. If you need more, agree it in advance. Surprises about cost cause friction on both sides.
Say who gives feedback and who makes final decisions. Several people commenting separately lead to contradictory instructions. Collect the comments, resolve conflicts and send one combined message. This respects the designer’s time and speeds up the work.
Agree on file delivery and ownership. State who owns the final images, whether the designer may show them in a portfolio and whether source files are included. Put this in writing, even for a small job, to avoid disagreement later.
Test the images in context. Place them in a draft of the article, in a social post preview and in a listing page. An image that looks excellent alone may clash with the page around it, or lose detail when compressed. Seeing it where readers will see it prevents disappointments.
Review the work against the brief
When the first version arrives, resist reacting to taste alone. Check it against the brief: does it do its job, fit the brand, work at every size and avoid the things you listed? Look at it as a small thumbnail on a phone, as well as at full size. If it is unclear at thumbnail size, it is unlikely to attract clicks.
Give specific feedback. Instead of I do not like it, say the heading is too small to read on a phone and the blue is darker than our brand colour. Mark what works as well as what does not, so the designer knows what to keep. Clear feedback improves the second version far more than general dissatisfaction.
Check the technical details: file sizes, formats, colour profiles and transparent backgrounds. Test the images in your own system, on the live page, before approving. Problems are cheaper to fix before publication.
Build a reusable template
If you publish often, a template saves effort. Ask the designer to create a set of layouts that you can reuse with different titles and images. Agree on how variations will work: colours that change by category, fixed positions for the logo and consistent type. A system gives your blog a recognisable look.
Keep a shared folder with the brief, brand sheet, final files and notes about what worked. When you work with a new designer, or when a colleague takes over, the folder lets them start quickly and keeps images consistent over years.
Review the system every six months. Look at the images across your blog and on social networks. If they look tired, repetitive or off-brand, update the template and the brief.
How AI Blog Autopilot helps
AI Blog Autopilot publishes articles with SEO meta and shares each one to your networks, so every article needs a strong featured image. Use the brief above to prepare a consistent look. See the pricing page for plans.
Related reading
The bottom line
State the purpose, define the brand, list the sizes, supply the content, agree the process and review against the brief.
FAQ
What should a design brief for blog images include?
Purpose, audience, brand colours and fonts, examples, sizes and formats, text, deadline, rounds of feedback and ownership.
How many examples should I share?
Around three you like and two you dislike, each with a sentence explaining why.
How many rounds of changes are normal?
Often one or two. Agree the number in advance.
Who owns the images?
Agree it in writing, including portfolio use and source files.
How do I check an image works?
View it as a small thumbnail on a phone and test it on the live page before approving.